In the previous post (https://talesfromthedatacenter.com/2025/01/creating-an-iscsi-target-on-a-qnap-array/) , I created a new iSCSI target that will be used for this post.
Next up, we need to create a LUN. A “LUN” stands for “Logical Unit Number” and is a unique identifier used to designate a specific storage partition within a Storage Area Network (SAN), essentially acting as a virtual disk that allows a computer to access a portion of the SAN storage space for data operations; it’s like a numbered address for a specific storage location on the network, managed by administrators and not directly interacted with by users.
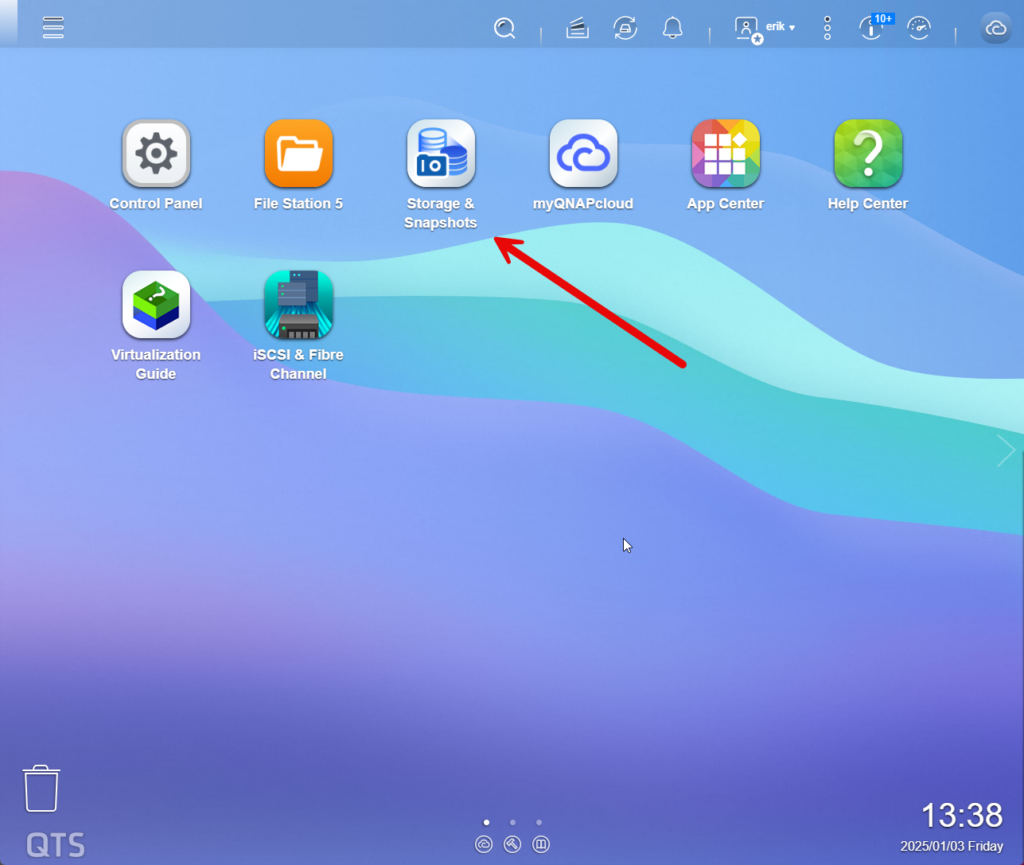
Let’s get started and log into the QNAP; Clicking on Storage and Snapshots.
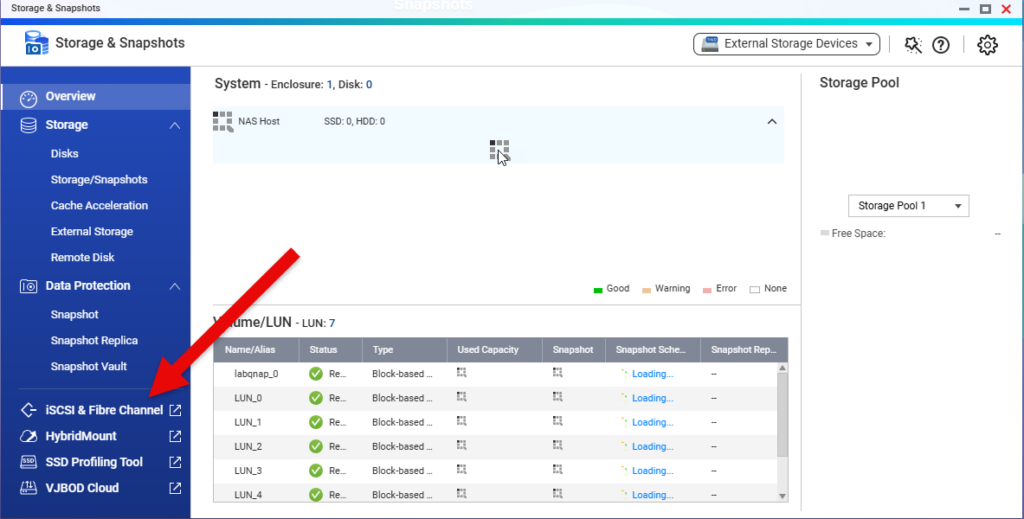
From there, click on iSCSI & Fibre Channel, to access LUNs.
Next, we can see the existing LUNS, as well as the targets. Click on Create, and then “New Block-Based LUN”

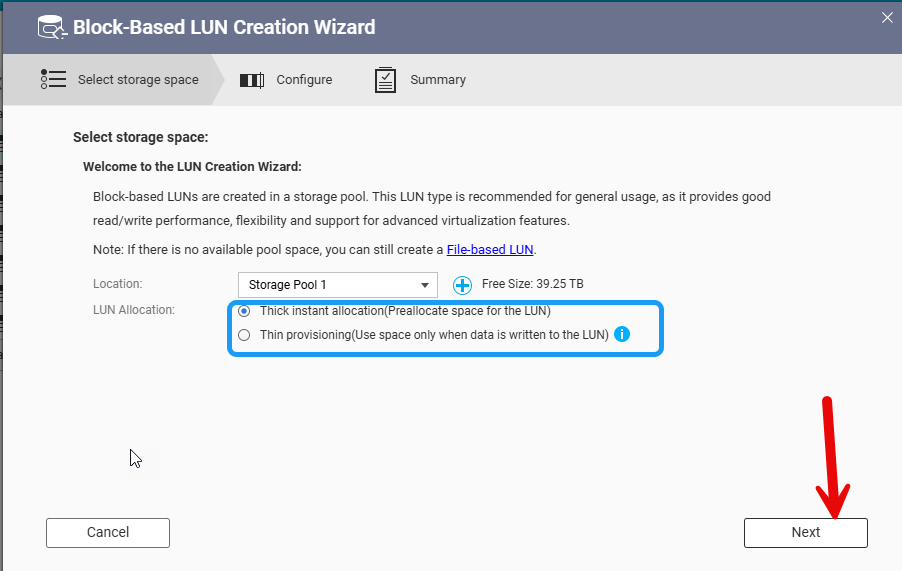
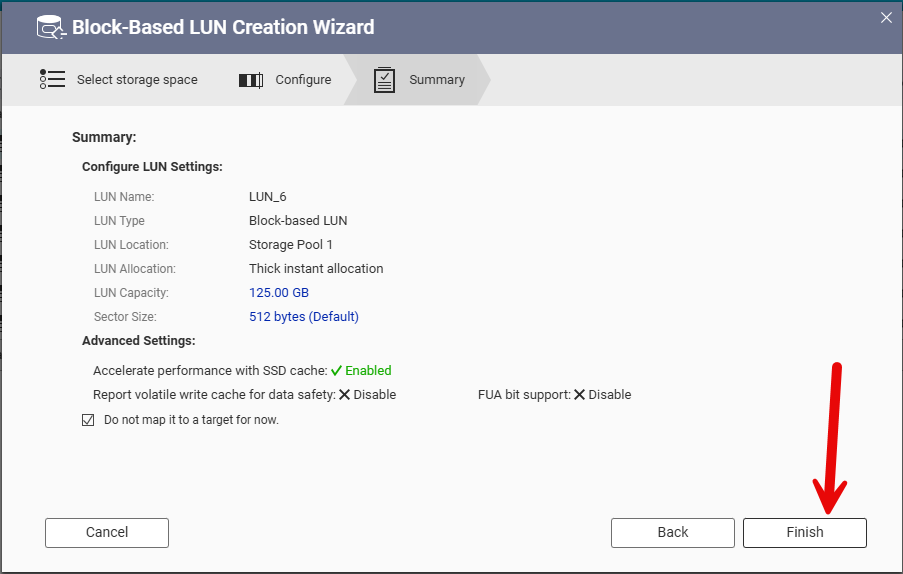
This will kick off the wizard. The first step is to pick your Storage pool,and LUN type. Thin Provisioned LUNS are more space efficient, as the LUN only uses the actual space used vs the size of the LUN. Thick provisioned use of all the space, but it does have some performance advantages. Since I’ll use this LUN for Oracle DB ASM down the road, I’ll make it a thick provisioned LUN. Then click on next.
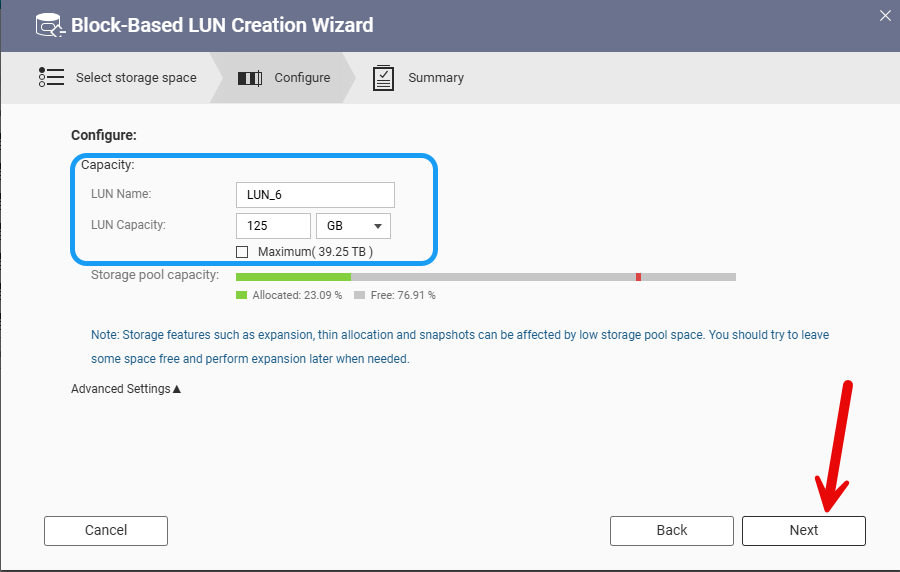
Next up we will give the LUN and name and size. I’ll use the automatically created name, and make this a 125GB Lun. Then click Next.
Finally, verify the info and then click on Finish to make the LUN.
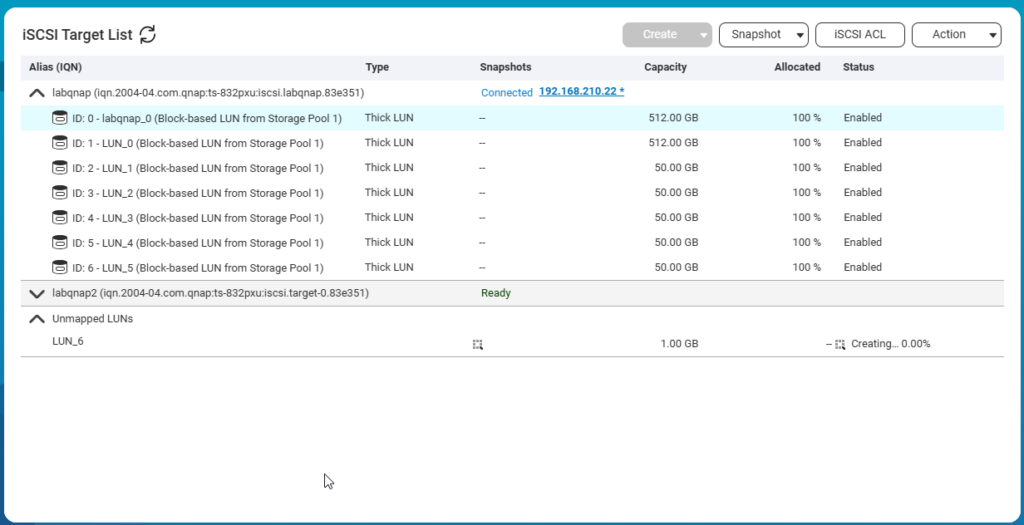
The LUN will take a minute to be provisioned. We will now see it in the list on LUNs, under unmapped LUNs.
LUNs need to be mapped to a Target to be used. This will control the path the LUN takes to the end system. To allocate the LUN, first select the LUN and then “Edit LUN Mapping”
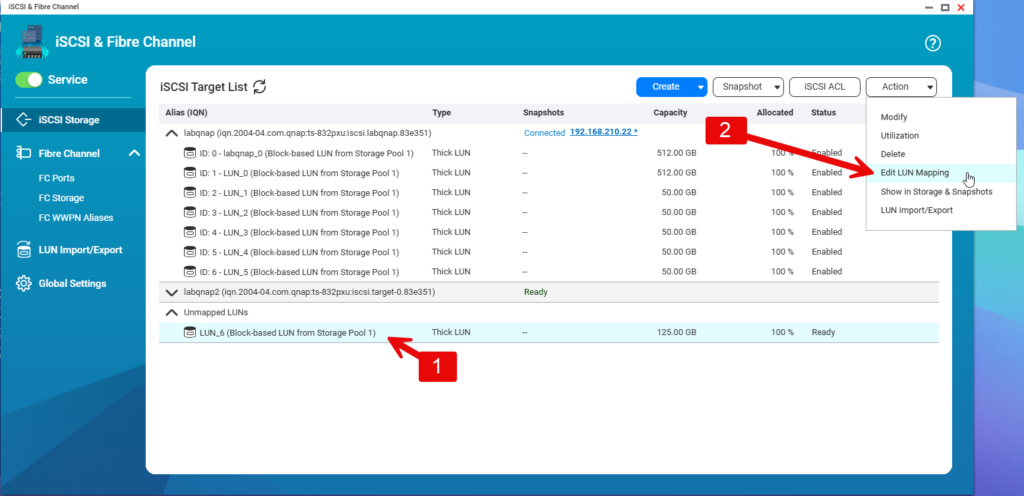
As a note you can also edit the LUN, to grow it, as well as a few other features.
The LUN Mapping dialog will come up. From here, you can Map it to an iSCSI target. In this example I am mapping it to the labqnap2 target.
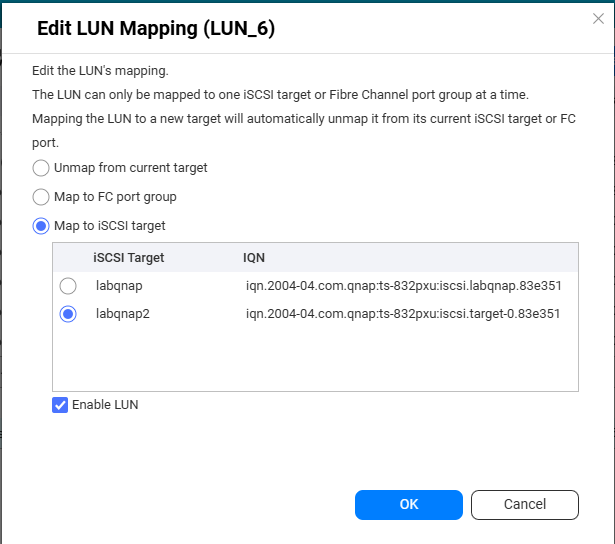
Once you lick OK, the LUN will map.
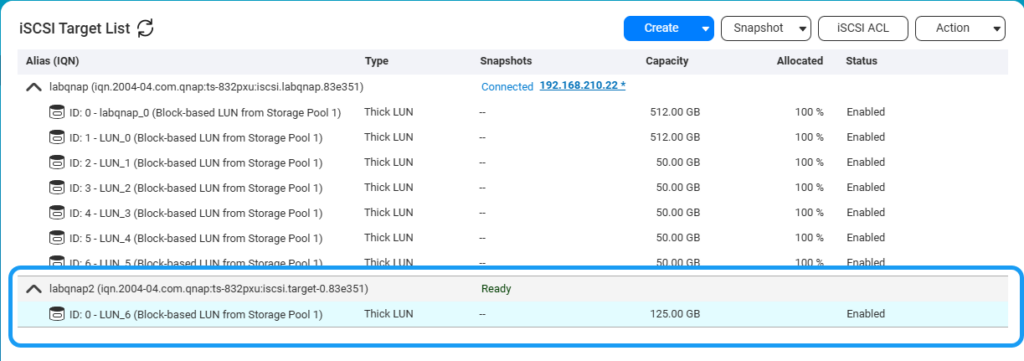
You will see it now under labqnap2. Next up , we can now mount the LUN from a Linux system as a disk.