It’s time to start using iSCSI, and I happen to have a QNAP array. Personally, I like the QNAP arrays, as they are easy to use, generally reliable and a good value to a SMB or home lab.
iSCSI (Internet Small Computer System Interface) is a protocol that enables the connection of storage devices to a network using TCP/IP. It is commonly used for creating Storage Area Networks (SANs) and allows access to remote storage block devices as if they were connected locally. These block devices can be mounted to be used like you would use a physical disk.
iSCSI has two parts, the Target and the Initiator. The Target is the system sharing the disk, in my case a QNAP storage array. The Initiator is the system using the disk, and can be a hypervisor like OLVM or VMWAre. It can also be a VM or even a physical server. You can also often use iSCSI as the boot disk for Enterprise grade servers!
To setup a new Target on a QNAP, start by logging into your array.
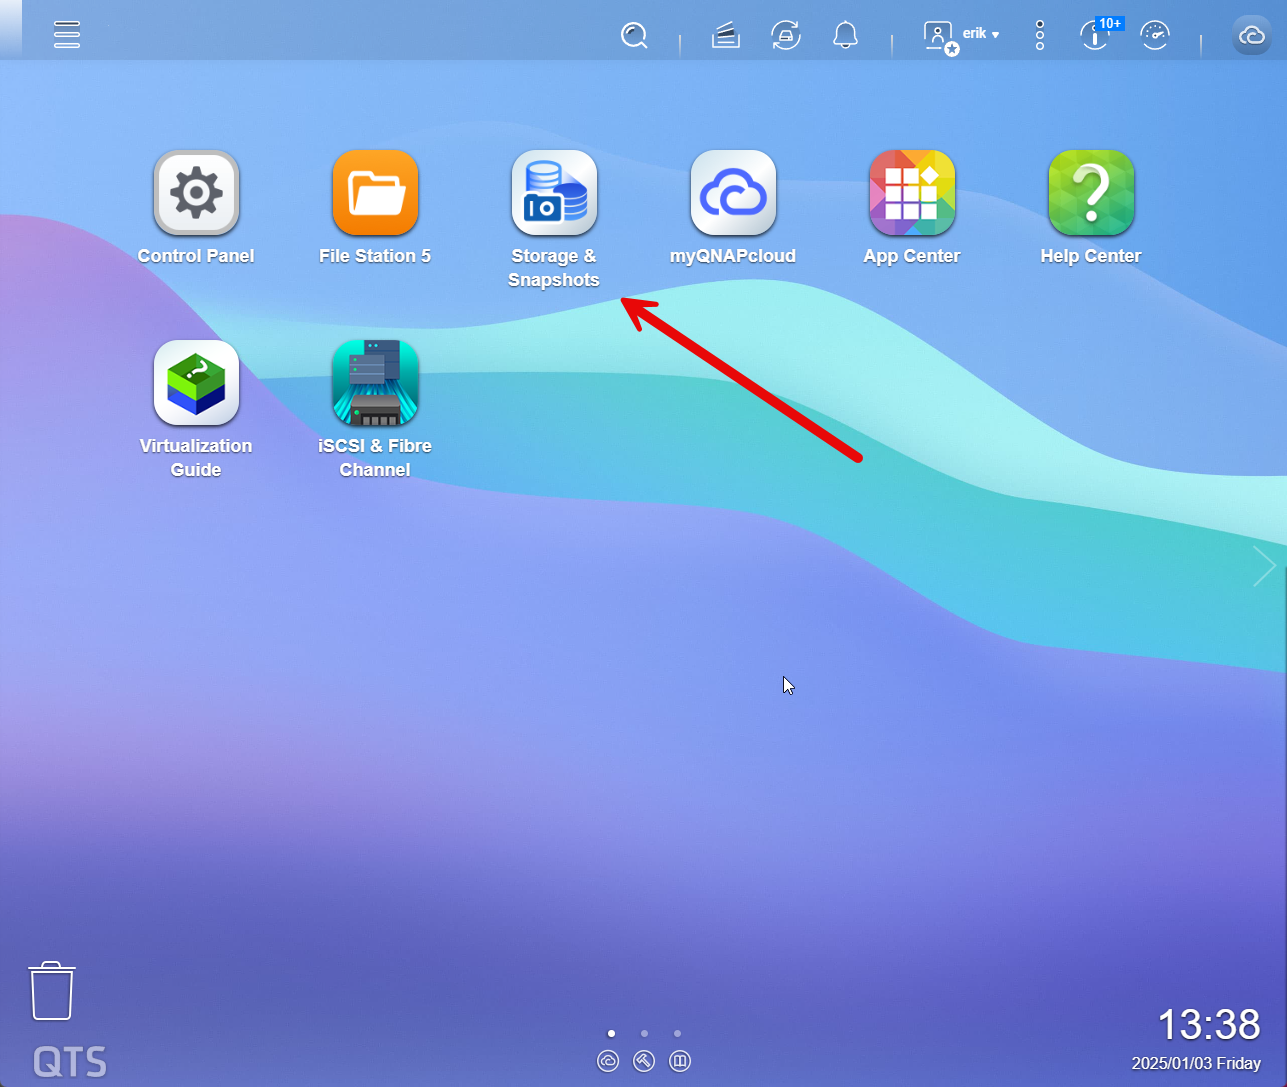
From here, select Storage and Sanpshots.
iSCSI is almost identical to Fibre Channel, other than it uses TCP for connectivity, but you still have LUNs. With 100G Ethernet that is common in datacenters, it may even be faster than Fibre Channel. In my case, I don’t use FC, as that would require additional switches on my network, as well as dedicated FC cards for my servers. iSCSI leverages my existing ethernet switches at home, so I don’t need any additional hardware.
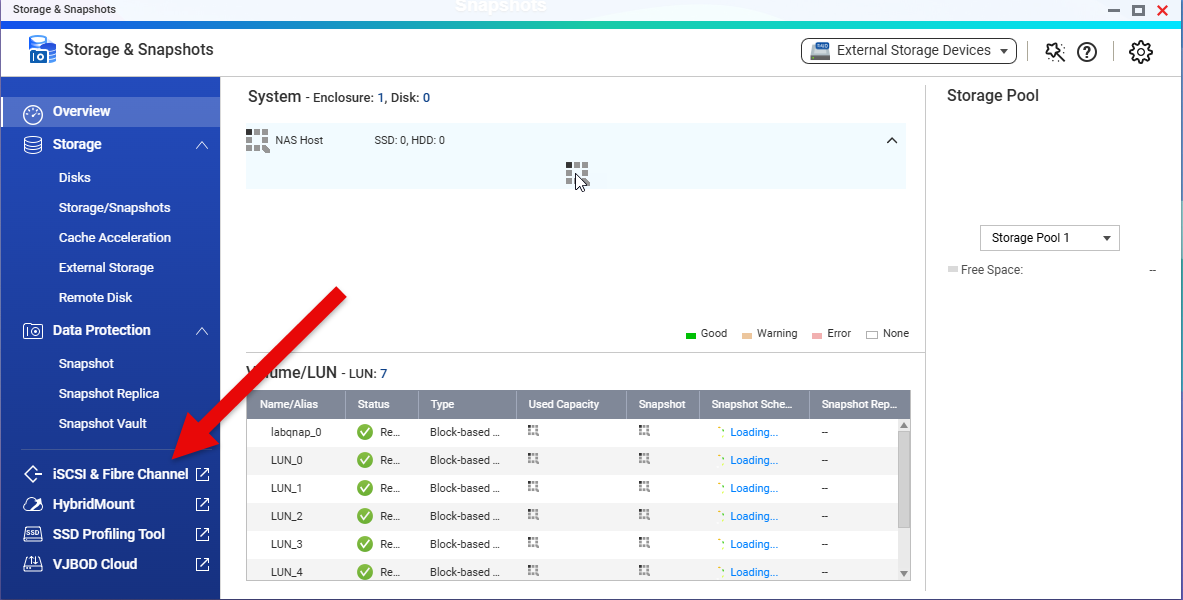
Select iSCSI and Fibre Channel from this screen.
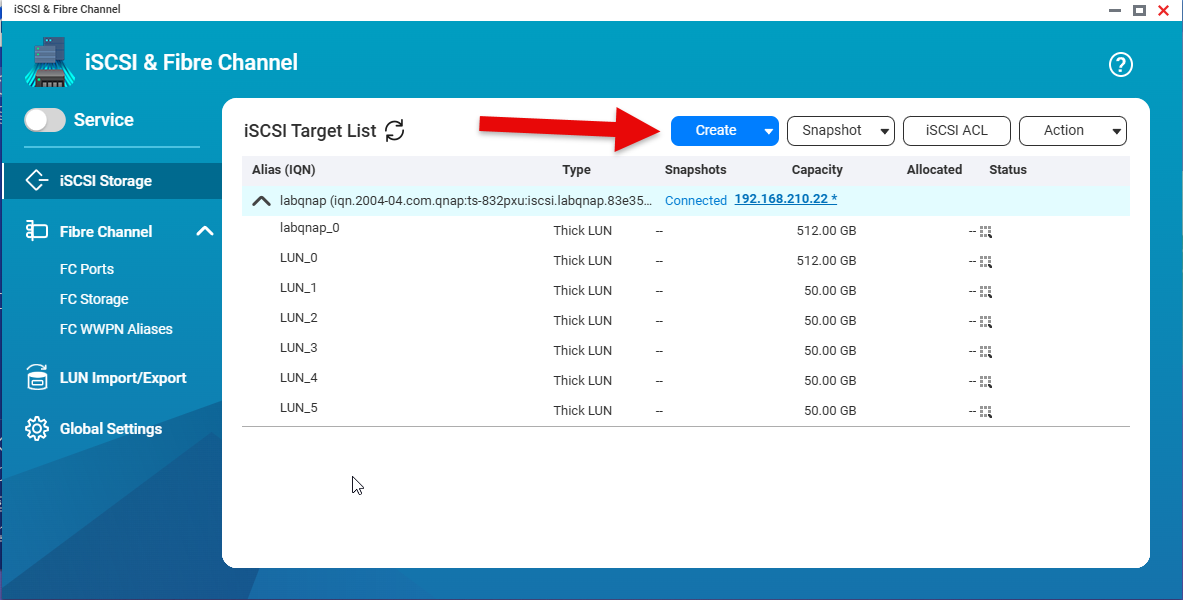
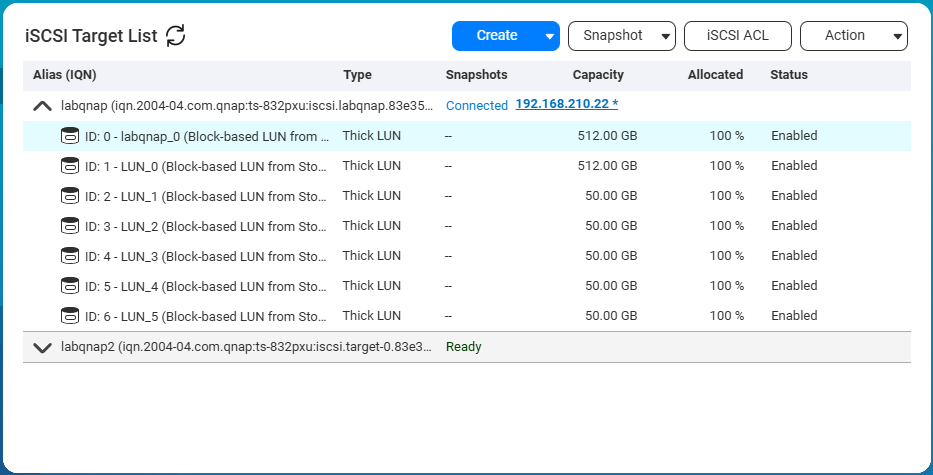
You are now at the ISCSI & Fibre Channel page, and can see any existing iSCSI Targets,and LUNs. In my case I already have an existing Target, with several LUNS attached to it. For this example I will create a new separate Target, and assign it to a dedicated 10G Ethernet port on the array. Select Create->New iSCSI Target to start the wizard.

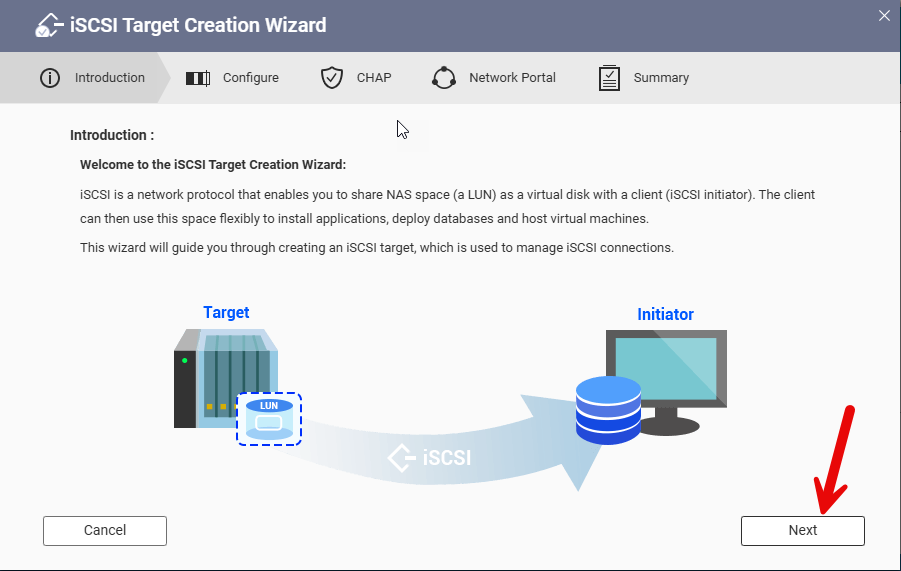
The 1st step of the wizard is an introduction. Click next to continue.
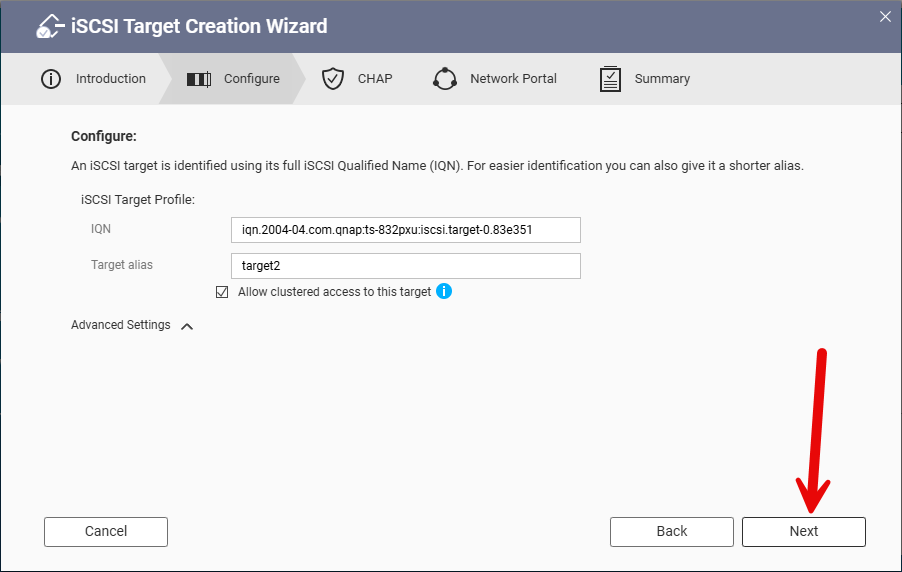
We will now specify the Target Alias ( I used labqnap2 though the screen shows target2) , as the iSCSI Qualified Name (IQN) is automatically created.
Then click next.
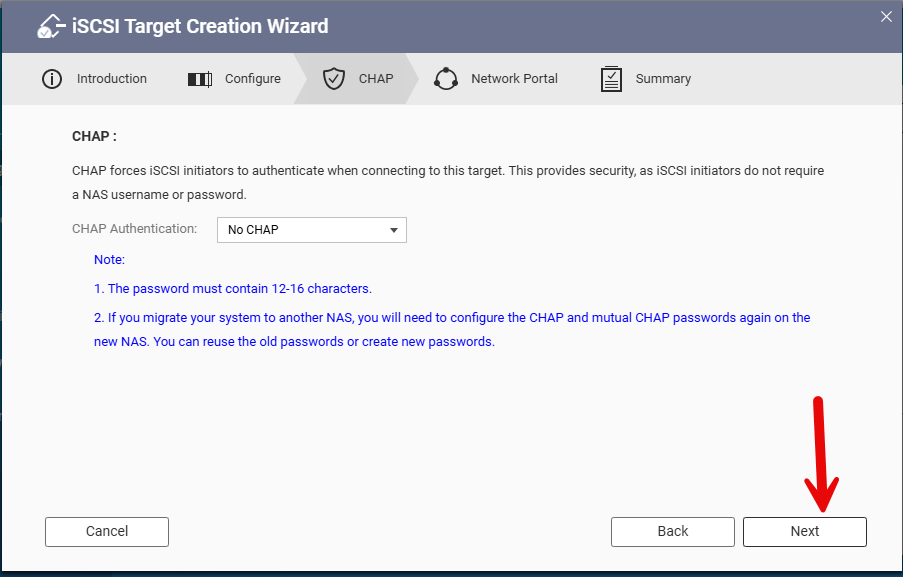
Next, we can decide whether to require initiators to authenticate with the array. CHAP stands for “Challenge Handshake Authentication Protocol,” which is used in the iSCSI (Internet Small Computer Systems Interface) protocol. This method securely authenticates iSCSI initiators (such as a computer) when connecting to iSCSI targets (like a storage device) by verifying their identity through a challenge-response mechanism. This process ensures that only authorized devices can access the storage. In my case, I am not using CHAP as this is my lab. So click next.
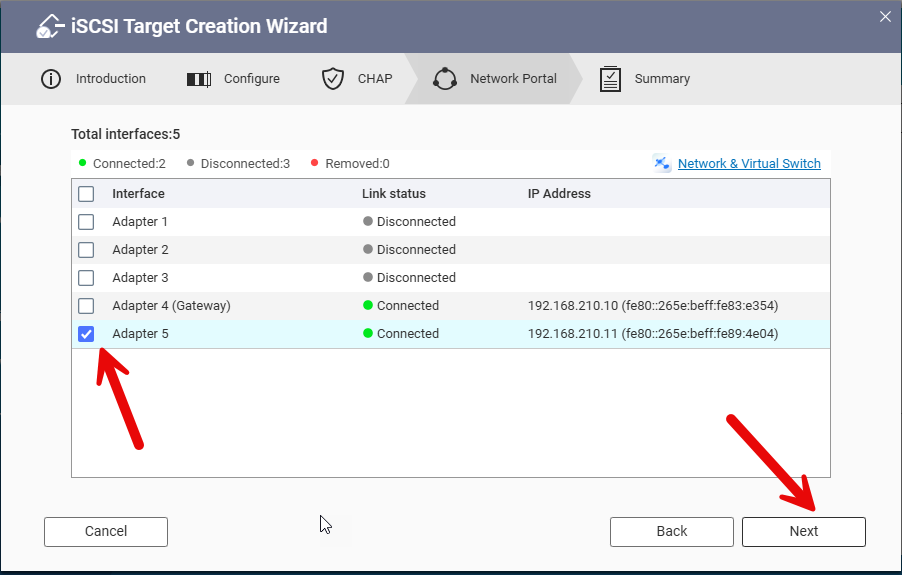
Next up we can pick what network interface will be used. I am going to use adapter 5, which was previously setup. Click next to continue.
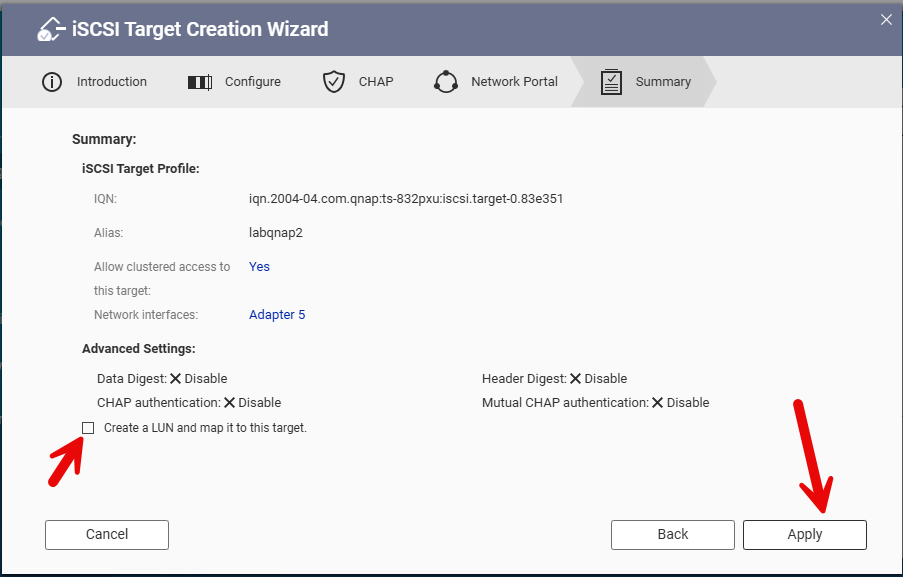
Finally we get the verification page. Double check and then click apply to create the new target. In this case, I also expanded the advanced options and deselected the create LUN option.
Once you click Apply, the array will take a minute to set the new target. You will then see the iSCSI Target List. Here you can see my new target “labqnap2”
Next up, I’ll walk through creating a LUN in a future post.