One of my all time favorite utilities built into Oracle Linux is ImageMagick. ImageMagick is a free, open-source software suite that allows users to create, edit, and manipulate images. ImageMagick supports almost 200 file formats, including JPEG, PNG and GIF. Leveraging the tool, you can easily from a command line crop, mirror, flip, scale, rotate, and transform images. You can even do some cool things like overlay text on an image, and tweak colors. I have also found that running this on Ampere Arm CPUs works really well, especially for a low cost cloud based solution in OCI.
Installing is easy, first make sure the EPEL repository is enabled. You can check your subscribed repo with
sudo dnf repolist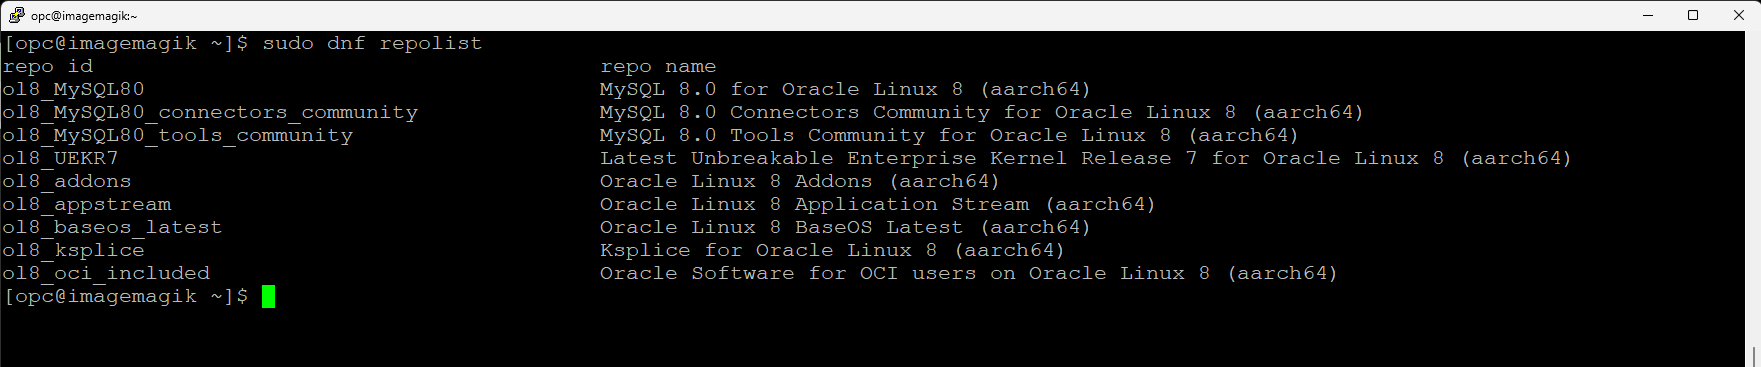
Here, you can see many repo, but no EPEL! So let’s add it, with the following command;
sudo dnf install oracle-epel-release-el8And now we need to enable the repo;
sudo yum-config-manager --enable ol8_developer_EPEL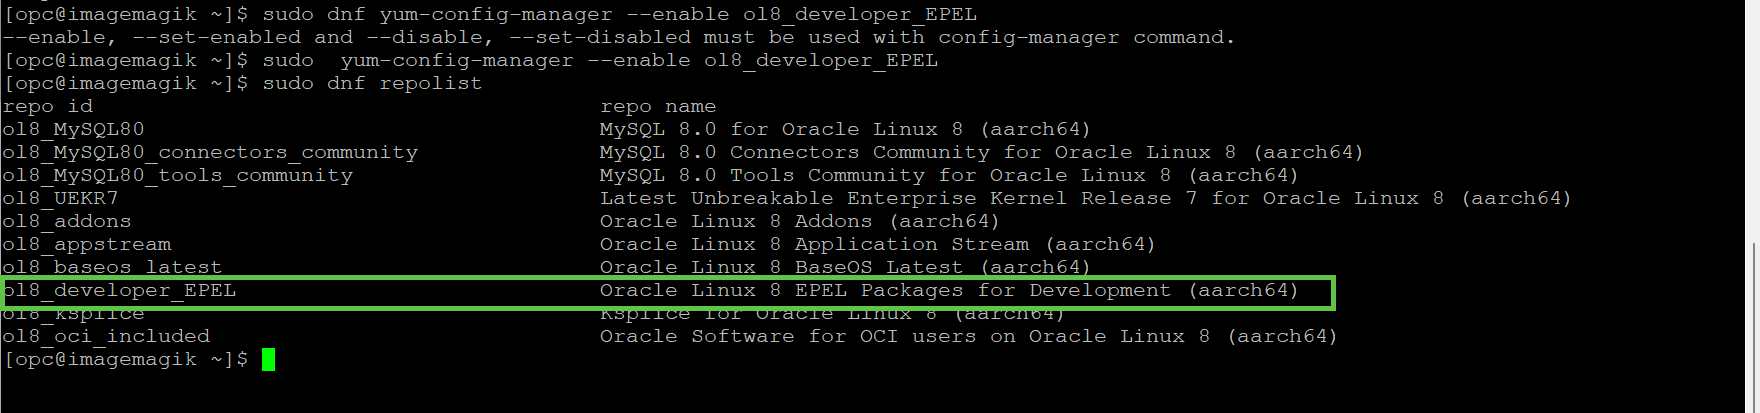
Now install the software
sudo dnf install ImageMagick -yNow that it’s installed, lets do some cool things. Most of what we will be doing usins the convert command. ImageMagick includes two important commands into /usr/bin;
- compare – A detailed mathematical and visual comparison between an image and its reconstructed version.
- composite – Allow you to overlap one image over another.
- convert -Easily convert between image formats as well as resize an image, blur, crop, draw on, flip, and much much more.
- identify – describe the format and characteristics of one or more image files.
- montage – This allows the creation of a composite image by combining several separate images. The images are arranged in a tiled format on the composite image, optionally embellished with a border, frame, image name, and more.
- stream – This is a lightweight tool designed to stream one or more pixel components of an image or a portion of the image to your preferred storage formats. It writes the pixel components in a row-by-row manner as they are read from the input image, making it particularly useful when working with large images or when you need raw pixel data.
A few sample commands;
Image resolution and other info;
identify /camera/north.jpgidentify $IMAGE_FILE

Here we can see this a JPEG files, with a resolution of 3840×2160. It’s an 8bit color formatted with sRGB
Automatically Adjust color levels
convert -auto-level $SOURCE_FILE $DESTINATION_FILE
convert -auto-level/camera/woody1.jpg /camera/woody1color.jpg

Here, we can see some subtle differences, but we can improve the ability to show what changed!
Compare two images
Compare $IMAGE1 $IMAGE2 $OUTPUT
compare /camera/woody1.jpg /camera/woody1color.jpg /camera/woodtcompare.jpg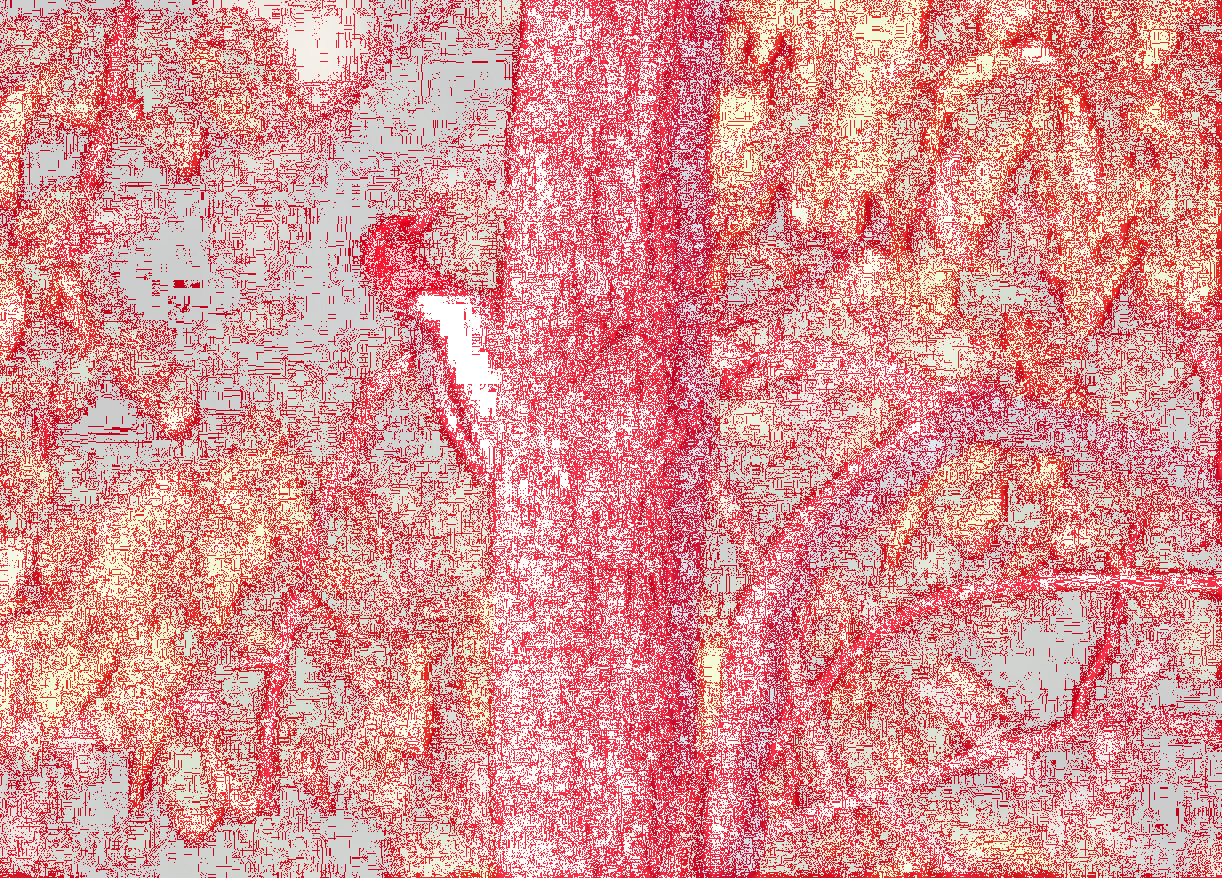
Here we can identify all the color tweaks made!
Resize a file
Convert $SOURCE -resize $SIZE $OUPUT
convert woody1.jpg -resize 250 woody1_small.jpg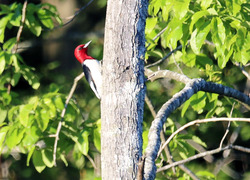
We now have a smaller thumbnail!
Lets add some Text
convert $SOURCE -pointsize $SIZE -fill $COLOR -annotate +%X+%Y “$TEXT” OUTPUT
convert woody1.jpg -pointsize 50 -fill red -annotate +380+400 "Woodpecker" woodytext.jpg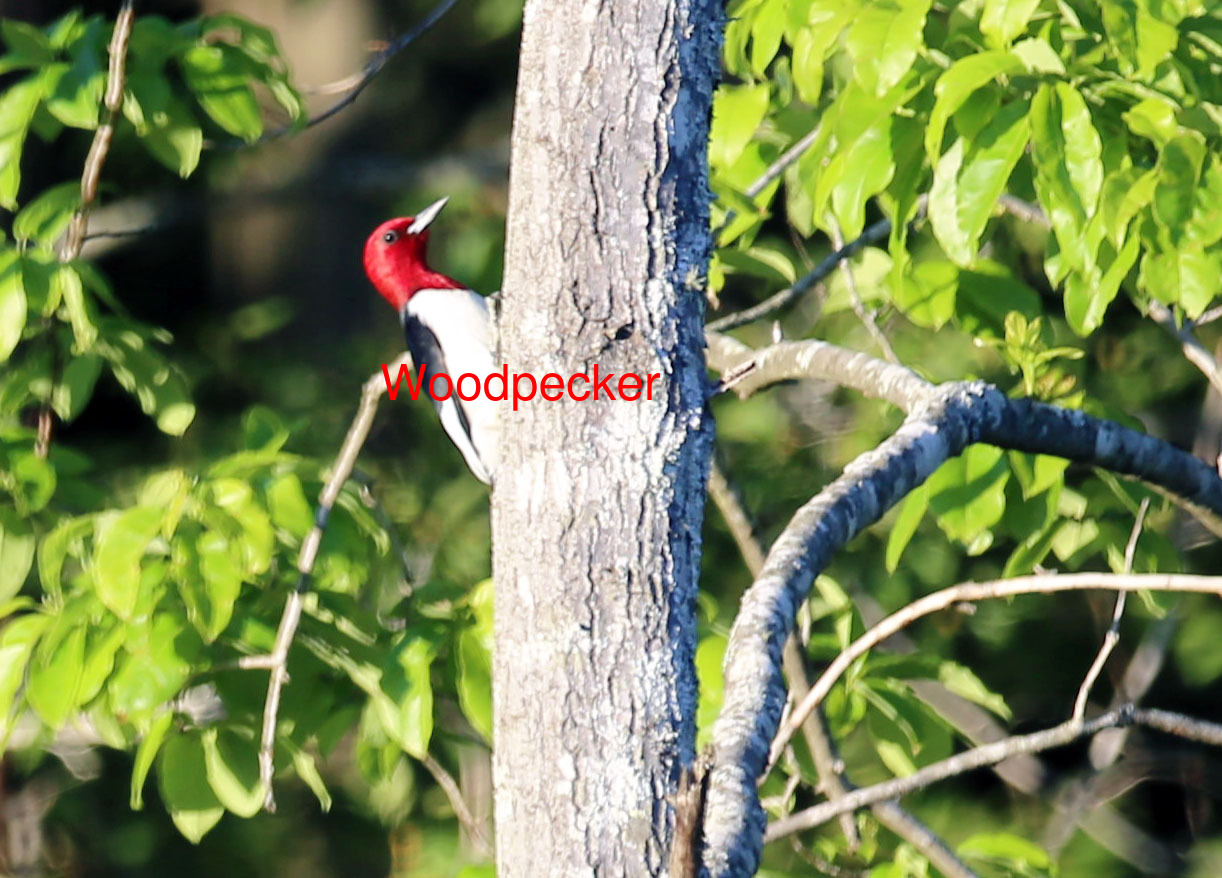
We added some text to describe what we are seeing.
Cropping
When you crop an image, the crop option uses X Y coordinated for the I will crop the original from the upper left into a 1440z1080 image.
Convert $SOURCE -crop $HEIGHTx$WIDTH+%X+%Y $OUTPUT
convert woodytext.jpg -crop 600x400+220+150 woodycropped.jpg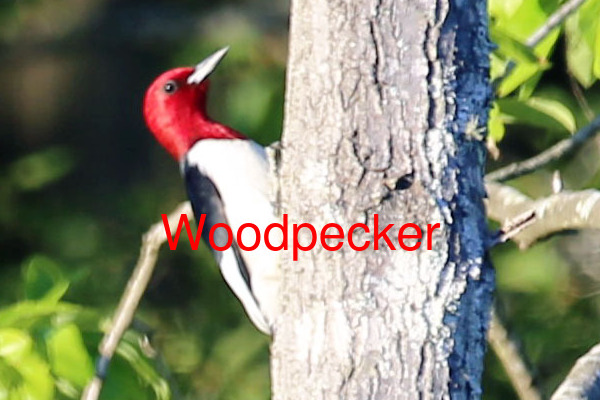
Now, we have cropped the image to the area of interest.
Converting image format
convert $SOURCE $DESTINATION
convert woodycropped.jpg woodycropped.pngNow the JPEG file is a PNG file!
Hopefully, you have a good foundation to start doing some magic on your images! Drop me a note if you need some more samples!