If you are not familiar with Oracle Linux, this may be the technology included with the distro that makes you pay attention to Oracle’s Free and Open Source Linux distro. Oracle Linux has been around since 2006, and is a completely free distro that is based on the most popular open source technologies. It is free to use, free to distribute and also FREE TO PATCH! Yup, you do not have to pay to patch!
Also, and to me, more importantly, it is built on Free and Open Source solutions, that do not put a propitiatory front end between the admin and the technology. This means you get to avoid vendor locking, leveraging technologies like Docker, Kubernetes , oVirt and more, all without a proprietary front-end that locks you to a single vendor.
Oracle also has been growing their Open Source projects they support, from Spacewalk to LEAPP, Oracle has been supporting customers use of Free and Open Source Software (FOSS) solutions. Recently Oracle added a new technology to this mix, releasing an Ansible Tower like technology , built on AWX, the Ansible open source project. This new tech is called Oracle Linux Automation Manager (OLAM) , and it basically gives you all the features of Ansible with a supported and reliable patch and release mechanism, for free!
From Oracle’s Blog… “Oracle Linux Automation Manager is based on the AWX version 15.0.1 open-source software. The AWX development branch and documentation are available in GitHub. Oracle Linux Automation Engine is included in Oracle Linux Automation Manager and is based on the Ansible version 2.9.19 open-source software. The Ansible development branch and documentation are available in GitHub. “
So effectively, you get all the power of both Ansible Tower and Ansible for free.
Installation is fairly straight forward as well, though you will need to install it on an Oracle Linux 8 server. For my Lab, I installed OL8, and gave / 50G, /var 10G /var/log 5G /u10 20G and /home 10G. All my filesystems are under LVM, so I can grow any filesystem as needed down the road. My VM also has 8G ram,and two vCPUs ( Running under oVirt managed KVM) . I split /var and /var/log for two reasons, logs ( and other junk in /var and /var/log) filling up the root filesystem and it also lays in the groundwork to STIG servers down the road.
Before installing OLAM, you will need to do a few things;
Add the OLAM Repo, as root run the following command;
dnf install oraclelinux-automation-manager-release-el8
You also will need to enable the following repos;
- ol8_automation
- ol8_addons
- ol8_UEKR6
- ol8_appstream
This can be done with the following command, as root;
dnf config-manager –enable ol8_automation ol8_addons ol8_UEKR6 ol8_appstream
You also will need to add http and https to the firewall;
firewall-cmd –add-service=http –permanent firewall-cmd –add-service=https –permanent
Next , install OLAM, which is just another dnf command!
dnf install ol-automation-manager -y
Next we need to make some changes to Redis. Redis is a caching system, commonly used to store objects in RAM to improve performance.
Edit /etc/redis.conf and add in the following lines;
unixsocket /var/run/redis/redis.sock
unixsocketperm 775
Next, we will initialize the Postgres database. Yes, this uses Postgres, NOT Oracle!
/var/lib/ol-automation-manager/ol-automation-manager-DB-init.sh
Next, as the awx user we need to prepare the initial config
First, become the awx user;
su -l awx -s /bin/bash
and then run the following commands;
the first command initializes the system, and the second command makes the admin user. Remember to replace EMAIL with the email address of the system admin.
awx-manage migrate
awx-manage createsuperuser –username admin –email EMAIL
Next we need to create the pre loaded data, and provision the OLAM instance. replace olam.m57.local with your host name.
awx-manage create_preload_data
awx-manage provision_instance –hostname=olam.m57.local
awx-manage register_queue –queuename=tower –hostname=olam.m57.local
Last, we need to configure the NGINX web server to use a snake-oil SSL key.For those not familiar with NGIX is a a very simple, and fast web server. While not a feature rich as Apache, it is much faster.
To reconfigure NGINX, switch back to the root user.
As root, let’s create a snake oil self signed ssl cert and key for the web server. On production systems, you should create a cert/key pair signed by a valid CA. Also, in this case, I created the key to last 10 years, on production systems, it’s recommended to rekey every 90 days.
openssl req -x509 -nodes -days 3650 -newkey rsa:2048 -keyout /etc/tower/tower.key -out /etc/tower/tower.crt
next edit the /etc/ngix/ngincx.conf file and delete the server stanza;
server {
listen 80 default_server;
listen [::]:80 default_server;
server_name _;
root /usr/share/nginx/html;# Load configuration files for the default server block.
include /etc/nginx/default.d/*.conf;location / {
}error_page 404 /404.html;
location = /40x.html {
}error_page 500 502 503 504 /50x.html;
location = /50x.html {
}
}
This is done, because AWX installs it’s own SSL based config in /etc/nginx/conf.d/ol-automation-manager-nginx.conf, which is automatically loaded by the main ngnix config file.
Finally, one last bit to configure before starting the server, you need to edit the /etc/tower/settings.py to set the CLUSTER_HOST_ID to the server name, like this;
CLUSTER_HOST_ID = “olam.m57.local”
Finally, we can start the server, and set it up to run at boot!
systemctl enable –now ol-automation-manager.service
Now point your browser to the URL, in my case https://olam.m57.local, and accept the snake oil cert.
You should now see the login screen.
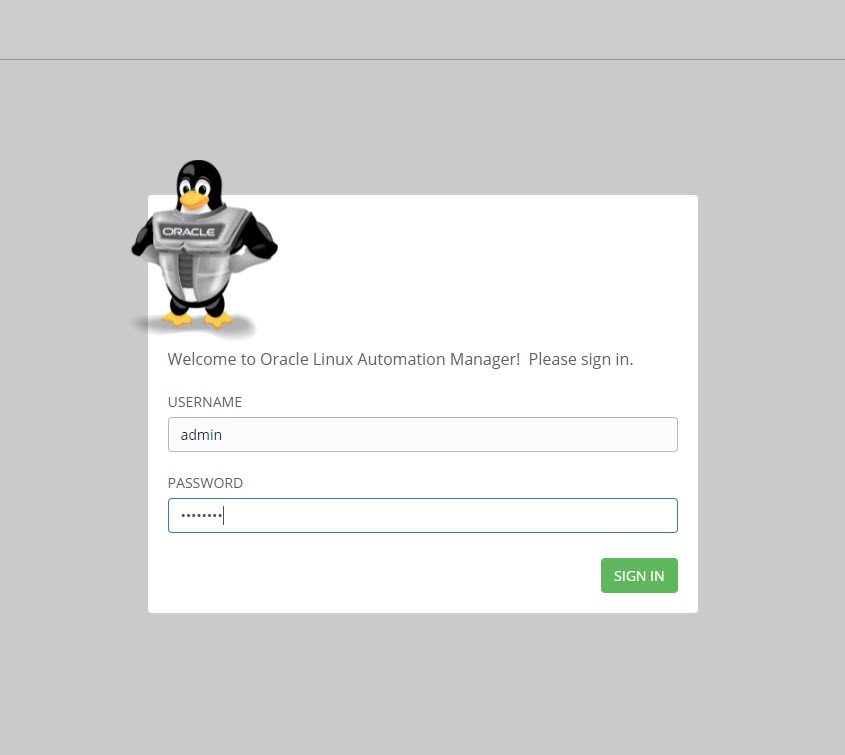
Login in with the admin user you created, and you should see the main admin page for the OLAM server.
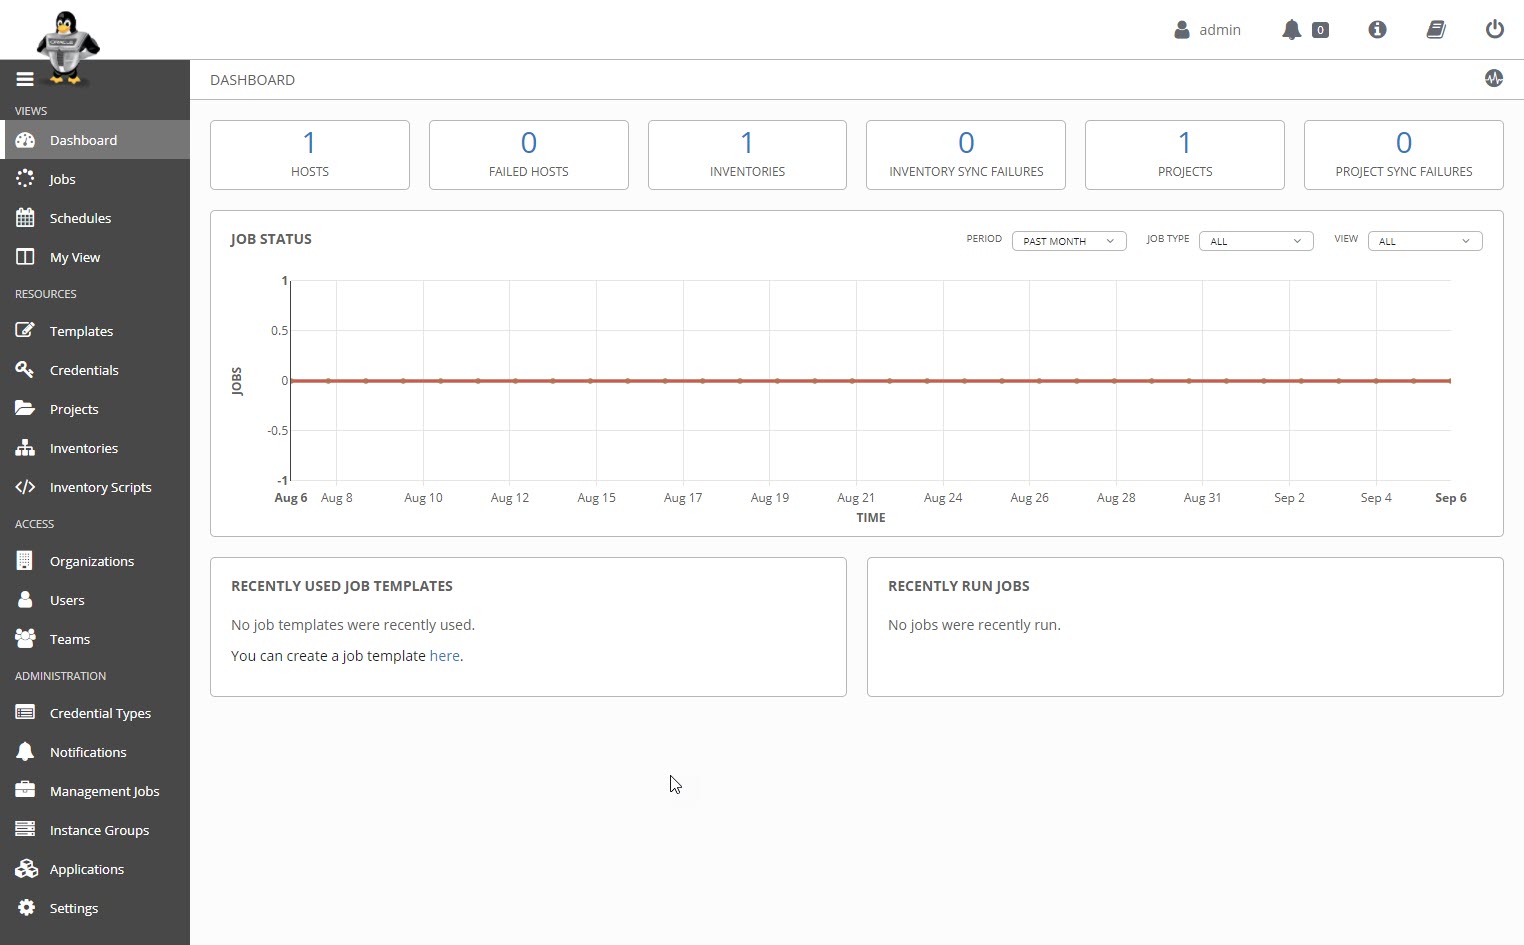
Welcome to FREE and OpenSource Automation at a cloud scale! Look for a few future posts where I setup Projects, add hosts and automate some basic tasks.
Sounds Like I need to ansibilize the install routine. Should just bfe 1) fill in fields in data file 2) run playbook to install 3) get coffee and I’ll be done installing by the time you get back.