Linux Cockpit is a web-based graphical interface designed for managing Linux servers. It simplifies system administration tasks by providing an easy-to-use dashboard, making it accessible to both experienced administrators and beginners. With Linux Cockpit, you can perform various tasks directly from a web browser without needing to use the command line.
Some of the features of Linux Cockpit include:
- System monitoring – View real-time performance data like CPU, memory, disk, and network usage.
- Service management – Start, stop, or restart services on the server.
- Storage management -Manage disks, partitions, and file systems.
- Networking – Configure network interfaces and settings.
- Software updates – Install and manage updates for the system.
- Logs – View and analyze system logs for troubleshooting.
Linux Cockpit is especially useful for managing multiple servers, as it allows remote administration via a secure web interface. It’s built into many Linux distributions, like Oracle Linux and can be installed on systems easily.
While Cockpit does not use the command line, I still recommend that Linux administrators learn the command line. There are huge advantages to learning the command, like being able to automate task. That being said, Cockpit is a great tool if you are not as strong with the command line.
Installation starts with using dnf to install the software;
sudo Dnf -y install cockpit
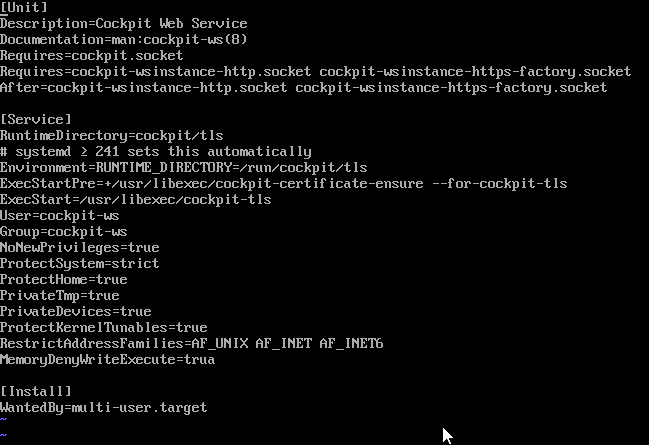
As a note, if you have a minimal install, you may need to add the following lines to /usr/lib/systemd/system/cockpit.service
[Install]
WantedBy=multi-user.target
This will look like the following figure;
Next we need to start cockpit, and add in the firewall rules.
sudo systemctl enable --now cockpit
sudo firewall-cmd —add-service=cockpit –-permanent
sudo firewall-cmd –reload
You should be able to log into Cockpit now https://$SERVER:9090/
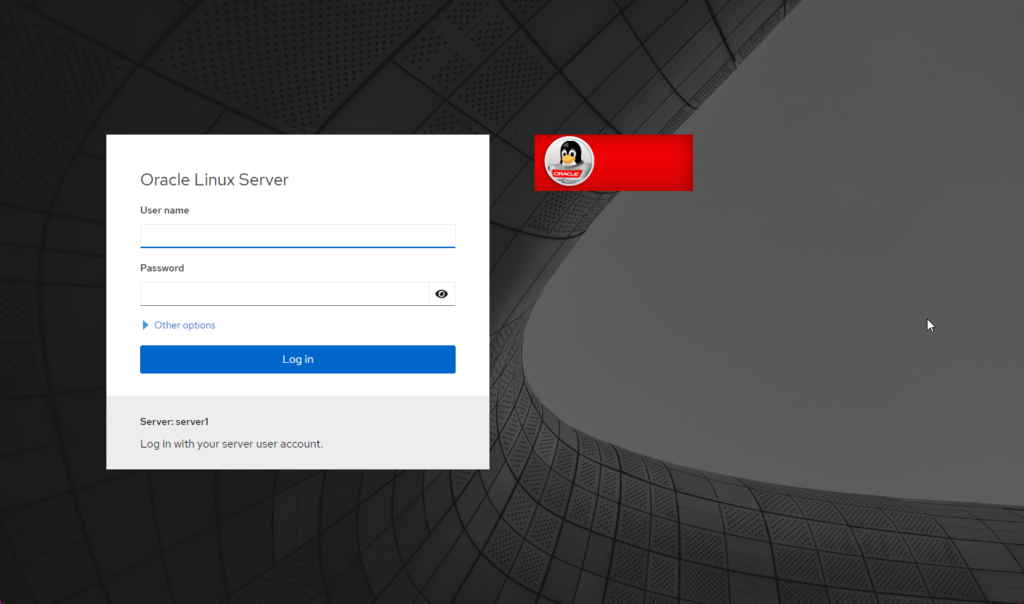
Login as root
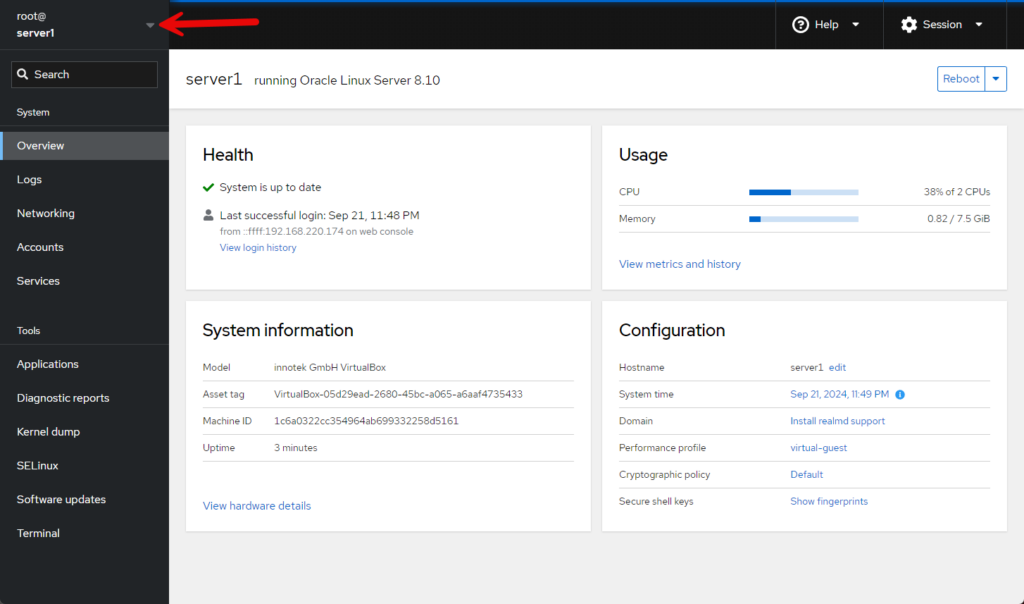
And now explore some.
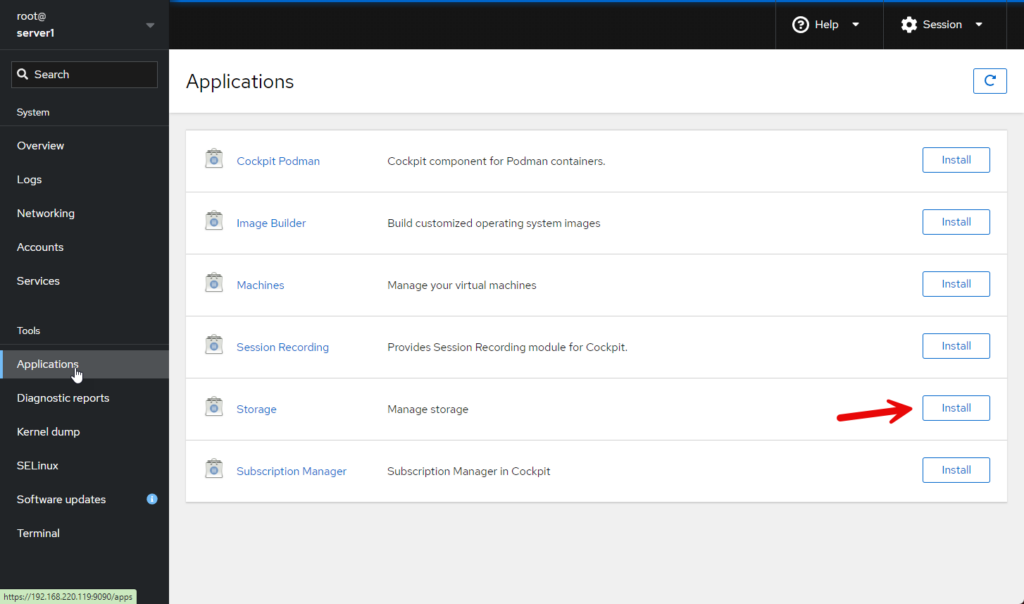
Notice anything missing? You can add in additional features by selecting Applications and then selecting the ability, like storage! Depending on the system, you may need to refresh the list of applications. Here, I am adding in the Storage functionality.
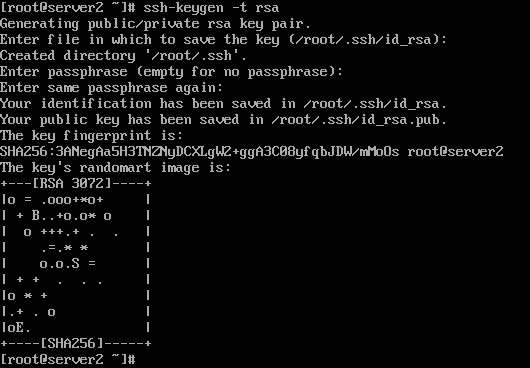
Next up let’s add another hosts. Before we do this, we should create ssh keys on each host. While you can use password, ssh keys are more secure and highly recommended.
make an ssh key for root on each server with the following command;
ssh-keygen -t rsa
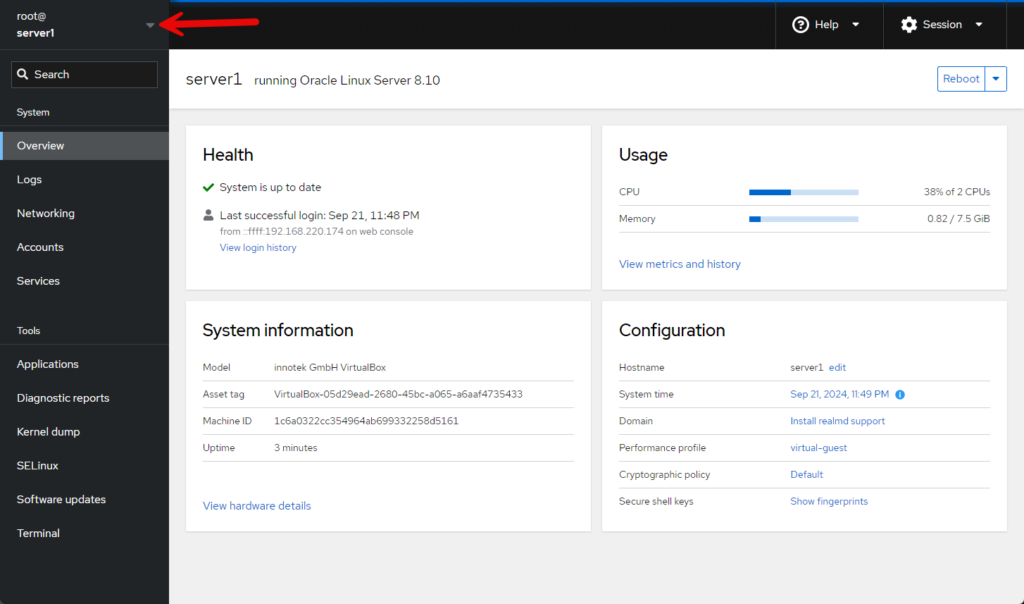
Now let’s add other servers, clock on the dropdown next to the server name.
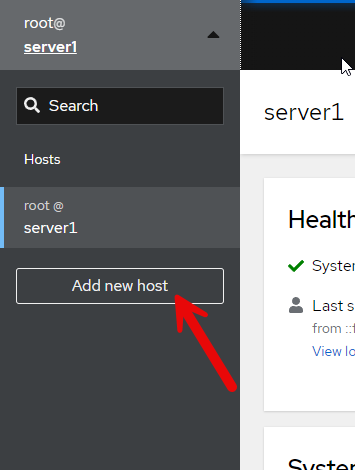
Next up, select “add new host”
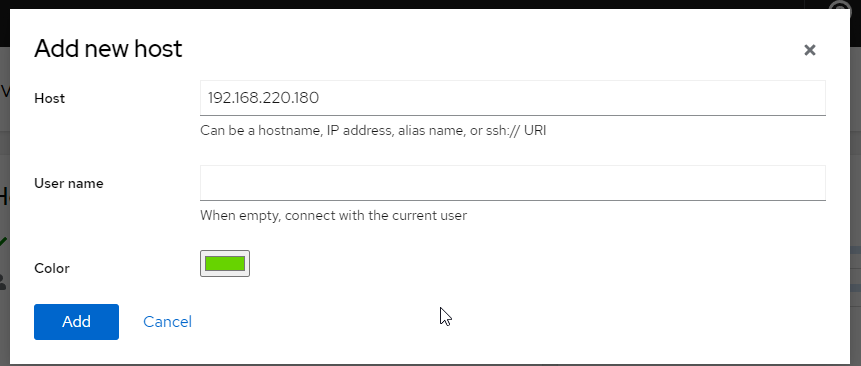
Now input the host IP for FQDN. You can also select a color for the host. This color is used by the webpage to help identify what server you are currently managing.
Next, you will validate the host.

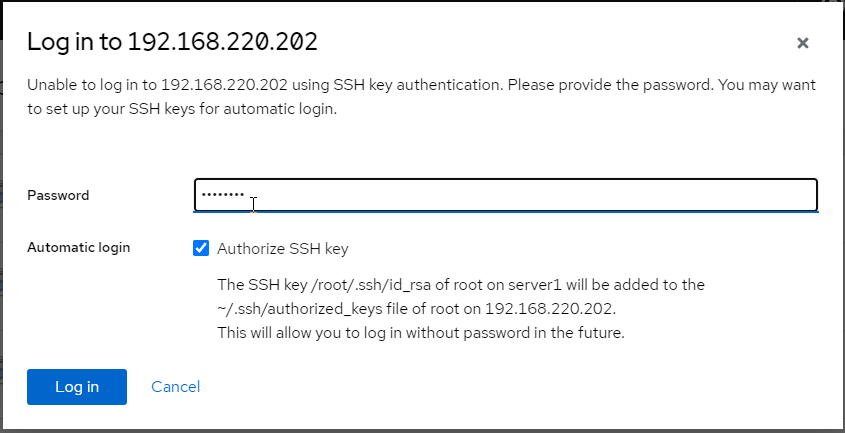
Finally, we will log into the host. Select the ssh checkbox to add the ssh key to this host. This is helpful down the road when you want to do things like glusteror even scripting, as it allows the main host to run commands on the remote host without being prompted for a password. Be careful with this though; if your main host gets compromised, access to the other hosts will be easier.
You can now easily manage the other hosts from cockpit. Just make sure you pay attention of the color bar on the top of the screen. When accessing multiple systems from a single server, it’s easy to get mixed up to what server you are on!.