I’m getting more and more interest in OLVM and oVirt these days. Customers really want to dump proprietary virtualization stacks and more to Open Source solutions. Oracle Linux Virtualization Manager ( OLVM) is Oracle’s distribution of oVirt, a popular open-source virtualization system. While you can manually install oVirt, Oracle makes the installation easy!
There is one challenge to a new technology, and that is there is some learning curve to use it. While OLVM is almost feature-for-feature equal to commercial products, it does use different names for features, and some bits are just different.
Installing Windows 11 as a VM is one of these examples, but an easy one to teach!
I’m assuming you have already imported a Windows 11 ISO, as well as the Windows OLVM winvirtio driver ISO. You will need both to do this.
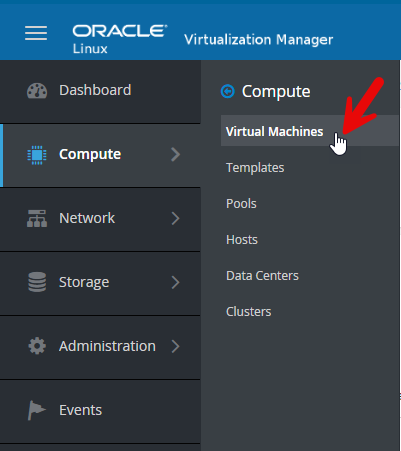
Next up, let’s build the VM. From the Manager, navigate to Compute->Virtual Machines
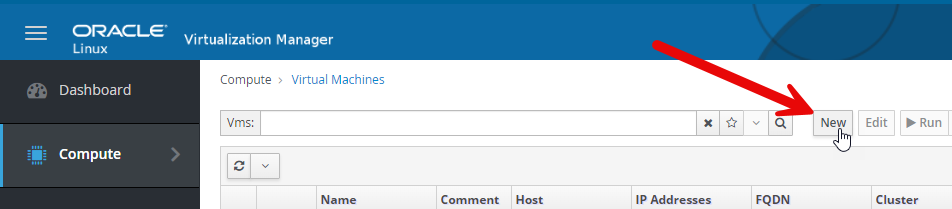
Next we will see a list of VMs. Let’s create on by clicking on new.
This brings us to an important topic. For Windows 11 machines, it’s essential to configure certain settings correctly. Windows 11 requires a Trusted Platform Module (TPM) for installation. The TPM is designed to provide hardware-based security functions. It is a secure crypto-processor that performs cryptographic operations and includes various physical security mechanisms to ensure tamper resistance, preventing malicious software from interfering with its security functions. Fortunately, we can emulate a TPM chip in OVLM, so this won’t be an issue.
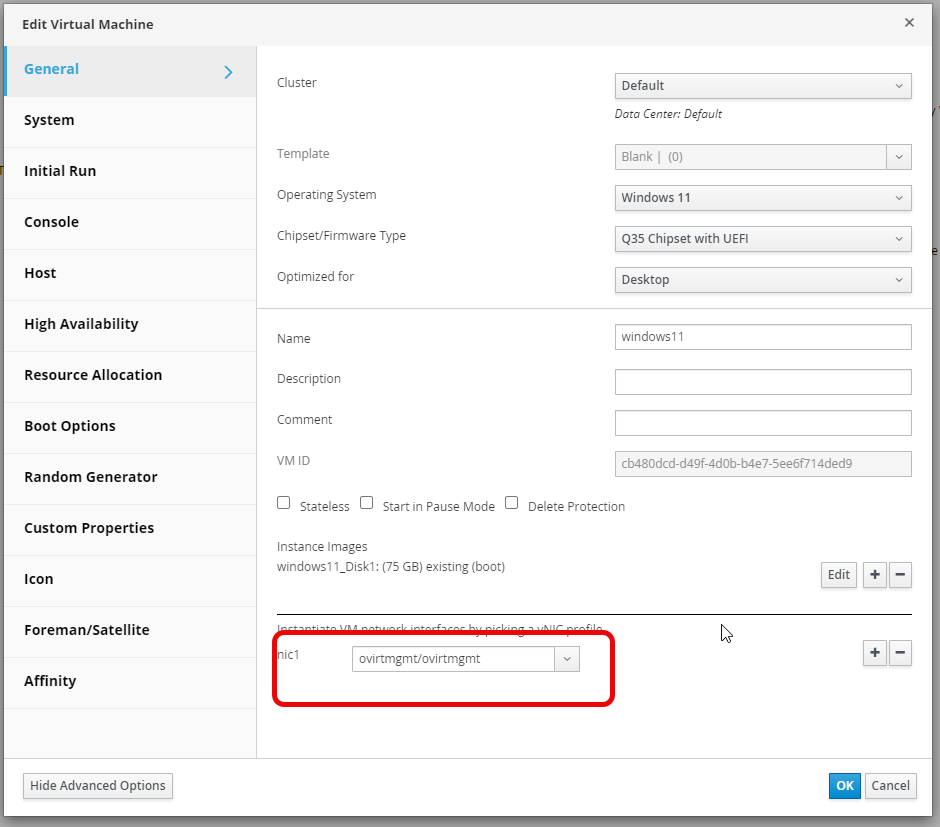
You need to make sure the Operating System is correctly set to Windows 11. I also recommend setting the optimization to desktop.
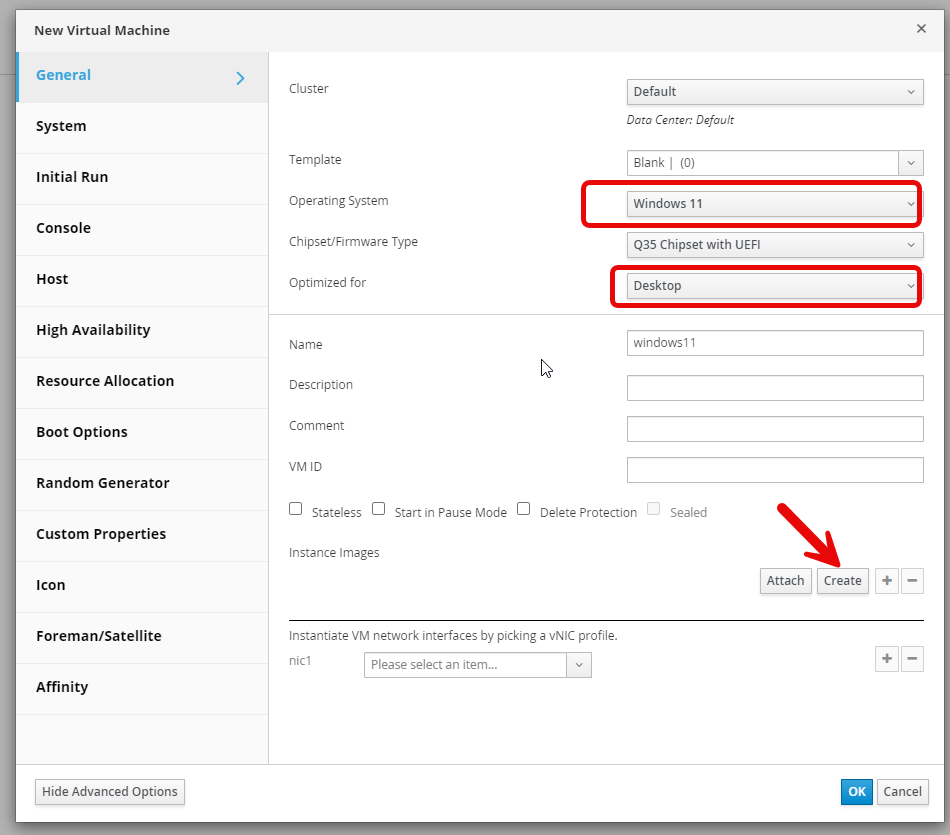
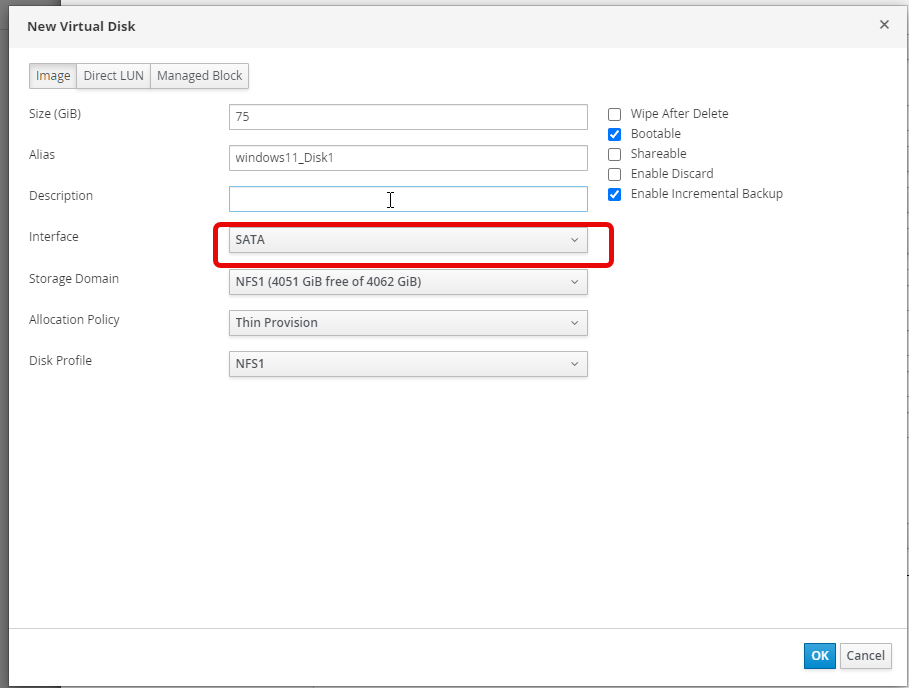
Next, select create to make a new disk. With Windows 11, you must have atleast 52G! Also, unlike Linux systemns, the VirtIO drivers are not in the installer, so select the storage interface to SATA. If you don’t do this, you will be unable to see the storage!
Last, we need to set the network to an available network that we want the VM on.
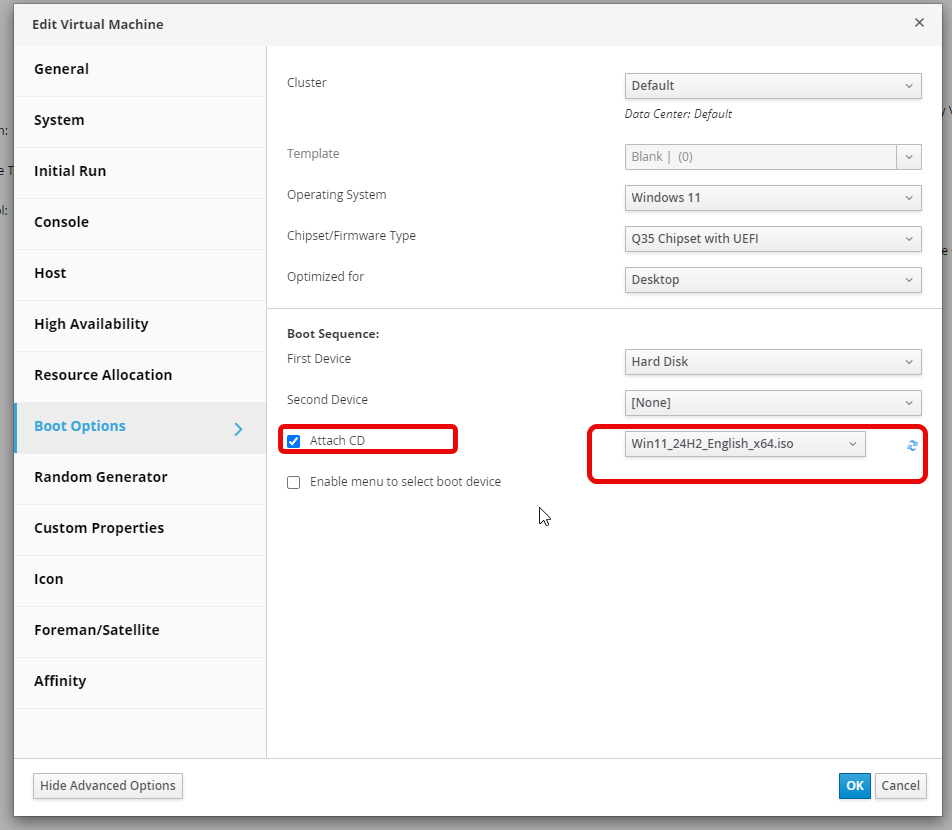
Next, navigate to boot options, and attach a CD and set the boot ISO.
Now run the VM, and grab the console!
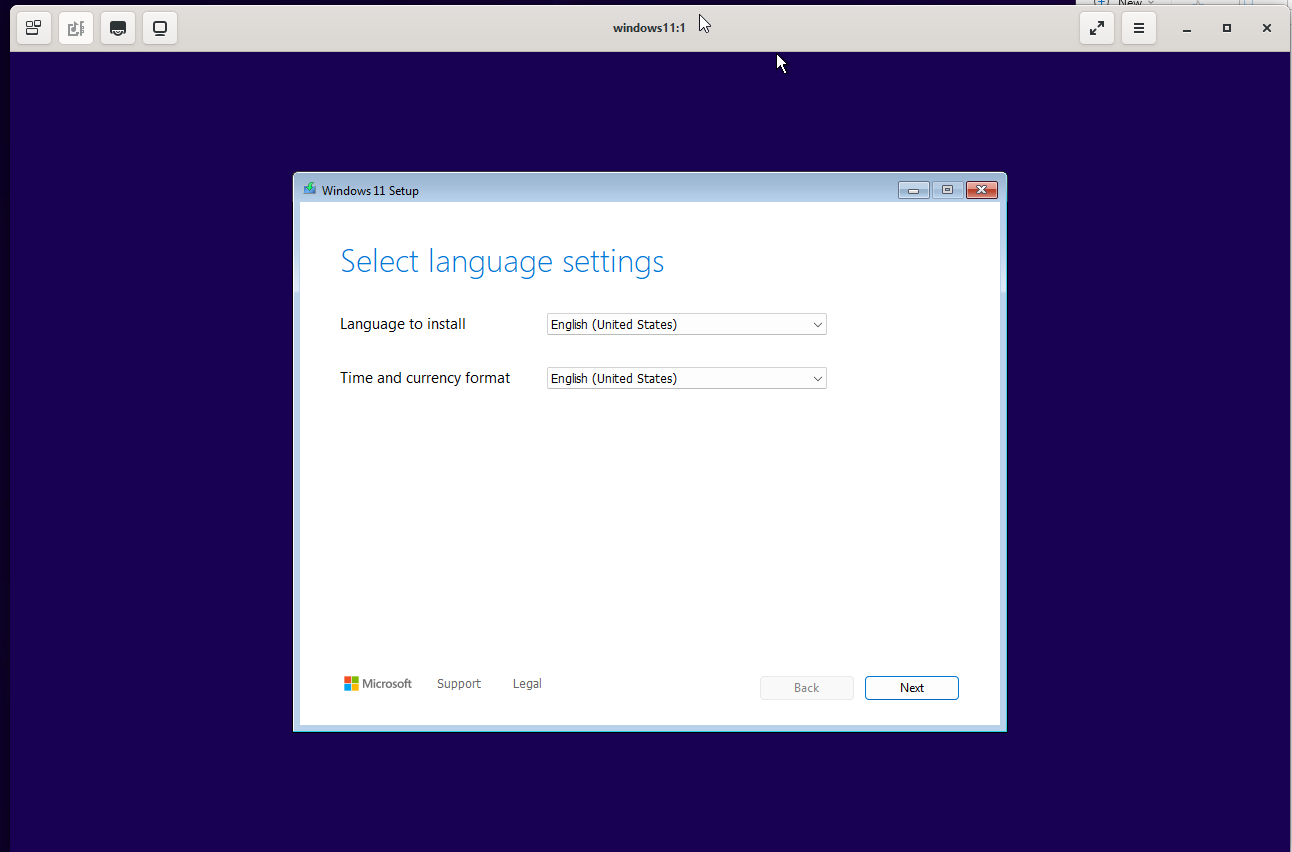
Run through the dozen or so options for a standard Windows 11 install, just like you normally would do. At some point, when the setup stops, you will need to load network drivers. Go ahead and swap the virtual disk to the Virtio ISO image.
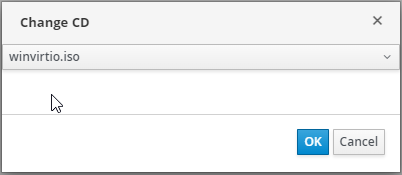
Top swap the ISO, click on the three dots in the upper left of the Virtual Machine page, and select Change CD.
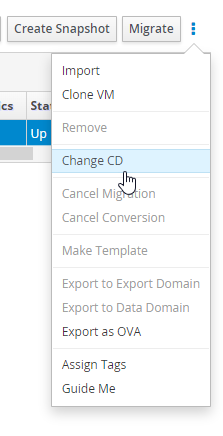
Then select the winvirtio.iso disk that you already uploaded to OLVM to get access to the drivers.
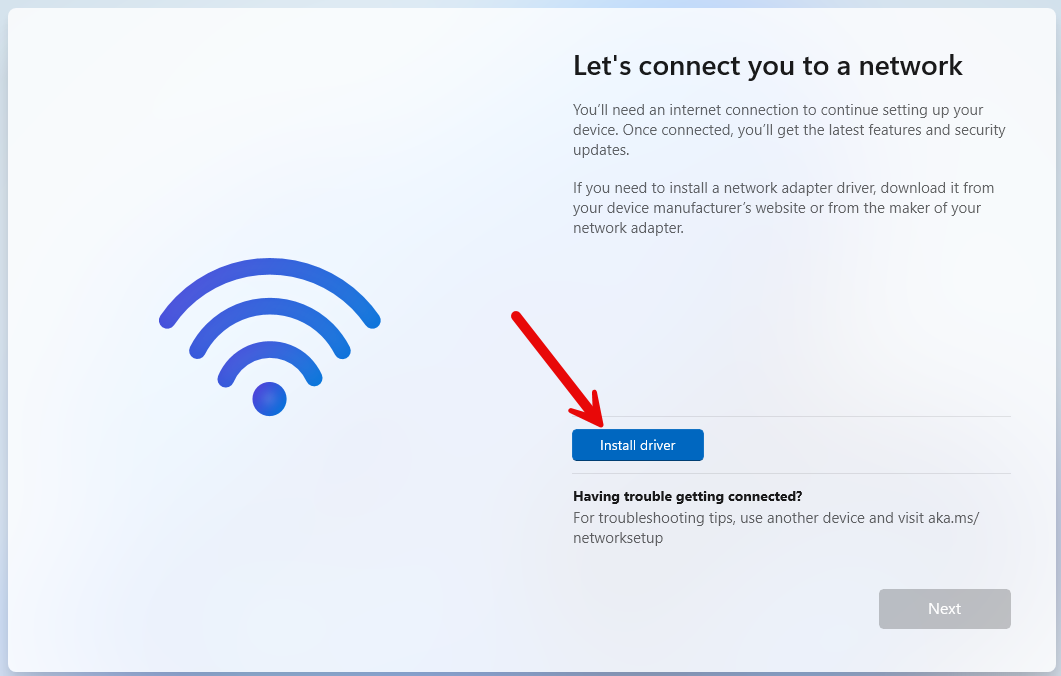
Now, on the network screen , you can select “Install driver”
Navigate to the w11 directory, and pick the CPU architecture. In this case it is amd64, as this is a 64 bit system. Then select folder. Don’t worry about not seeing any files, the installer wants the folder.
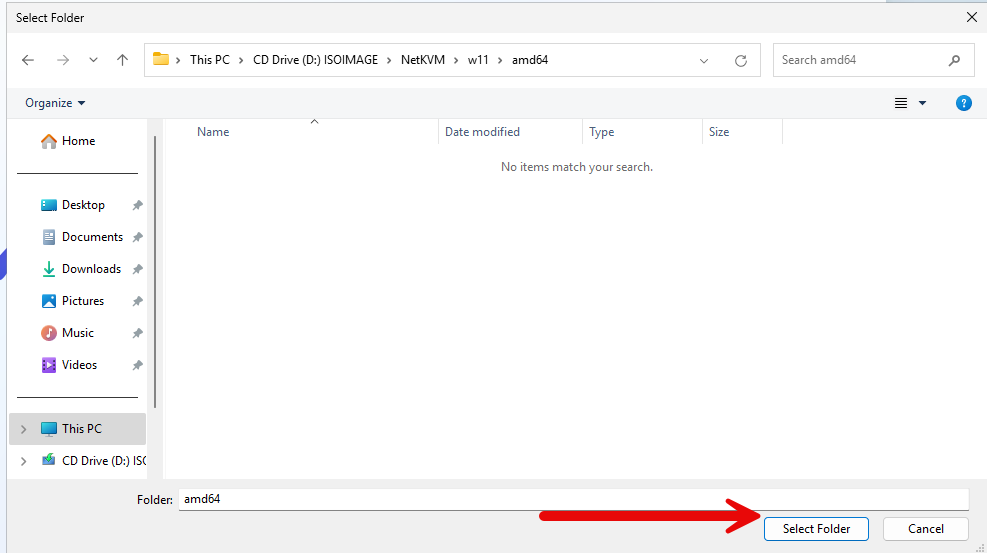
The drivers will install, and you will then see the network is connected.

Click next, and wrap up the installation. Windows will then check for updates, via the brand new network interface you just installed.
A few more screens,and your Windows 11 system is up and running. Afterwards you can install the virtio drivers for the IO, more on that in a later post.