The Oracle ZFS appliance is a great storage solution. Not only are they wickedly fast, and ultra flexible, but also available to run on your own lab via a free virtual appliance.
In order to run it, you will need Virtual box installed, and at least 200G of free disk space and about 2G of free ram.
You can download the appliance from here; http://www.oracle.com/technetwork/server-storage/sun-unified-storage/downloads/sun-simulator-1368816.html
Once you download the files, extract it.
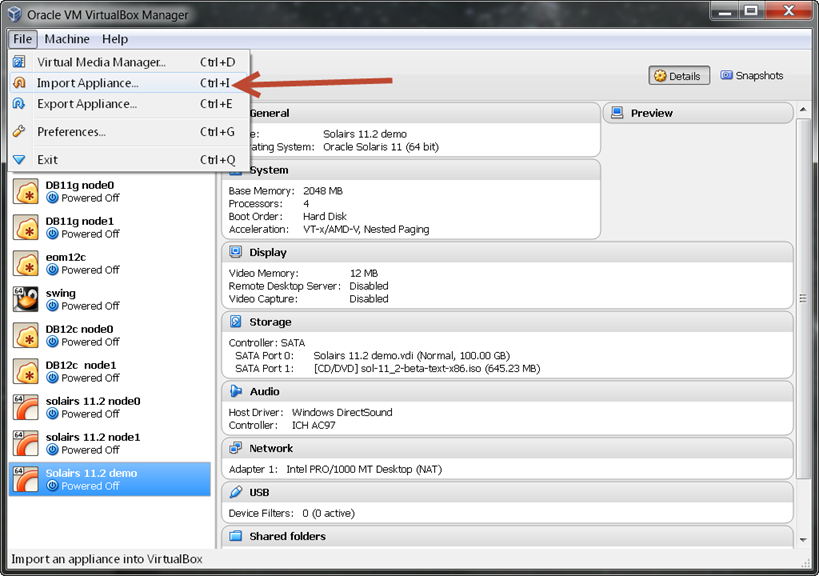
Now we will need to import it into Virtual box
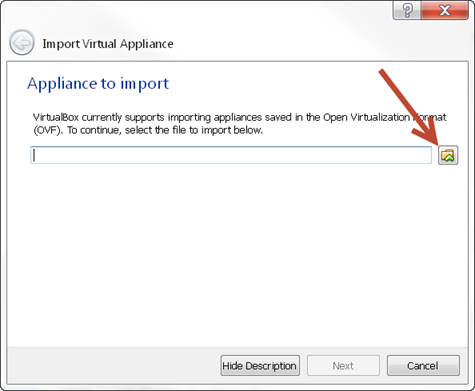
If you do not know the path to the file, just select the file icon
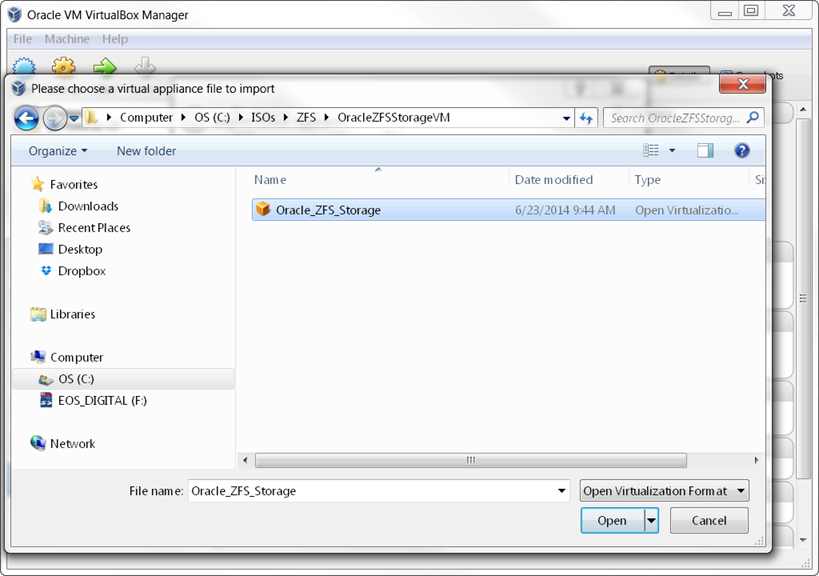
Now navigate to the extracted OVA file, and select open.
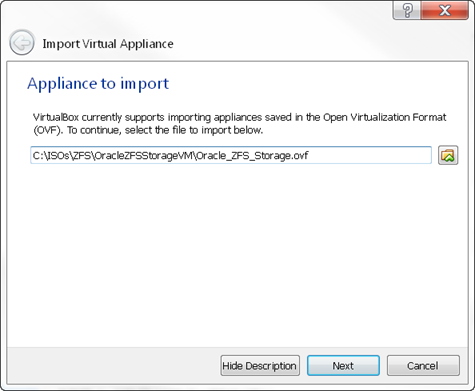
Verify the patch, and click next
You will now be shown the imported settings. By default the appliance will create 15 5G disks for data,and one 50G disk for the OS. It will also place the appliance on the host-only network within virtualbox.
Click import to continue.
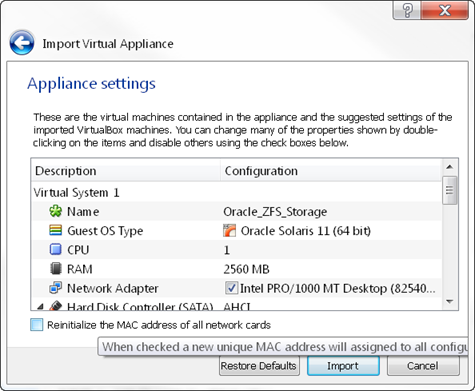
The appliance will import, this can take several minutes based on yout system’s perforamance.

Once imported, start the appliance up.
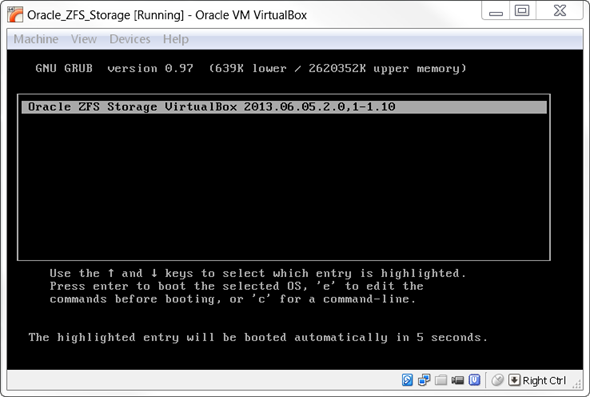
It will boot, and after a few minutes will be at the configuration stage. This is the exact same process that real ZS3 arrays use.
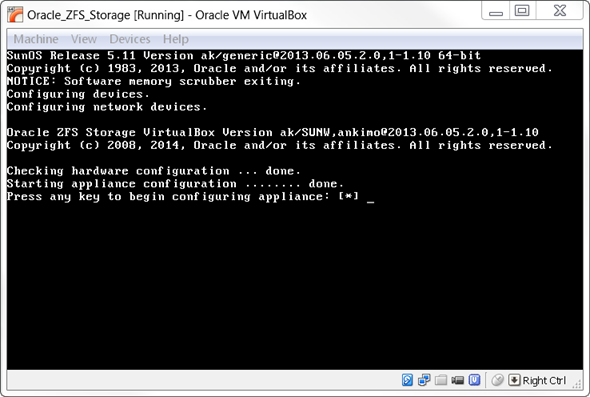
Hit your favorite key to continue, and fill in the following screen.
In this case, I know 192.168.56.1 is the host –only network, and the .10 IP is available.
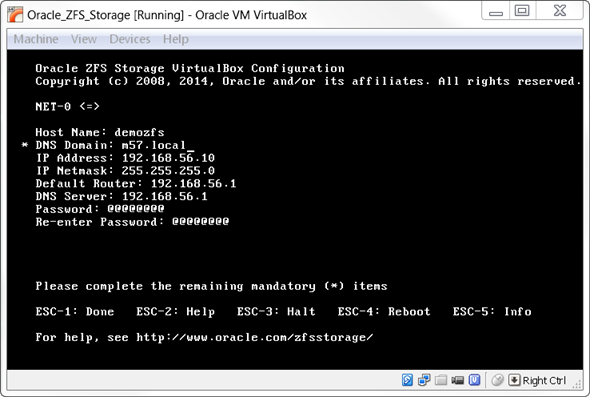
Reboot and ready for http login
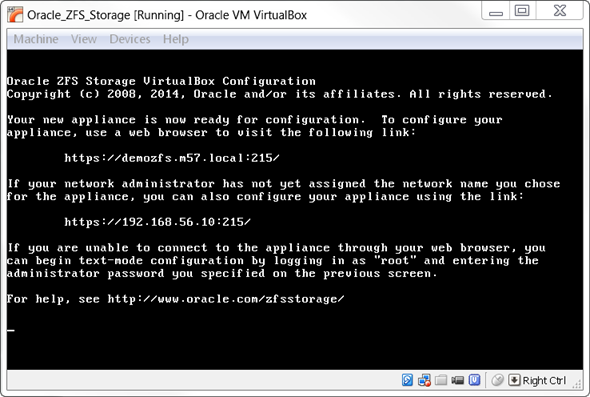
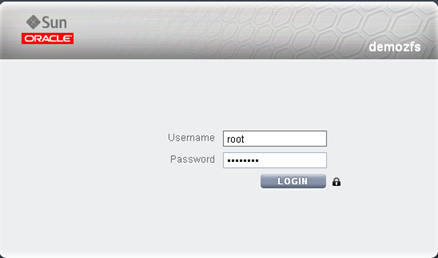
You can now point your browser to the URL. Since you do not have a real SSL certificate installed, you will need to accept the warning.

Now log in with root and the password used from the configuration.
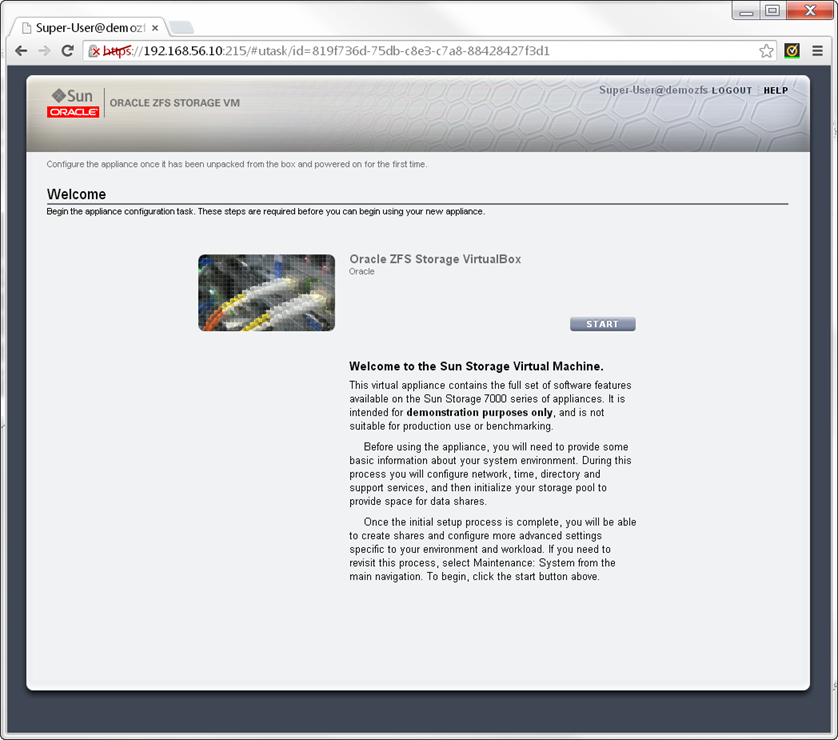
You will now be prompted through the inisital steps of configuring the array. This includes the network configuration and the initial storage pool.
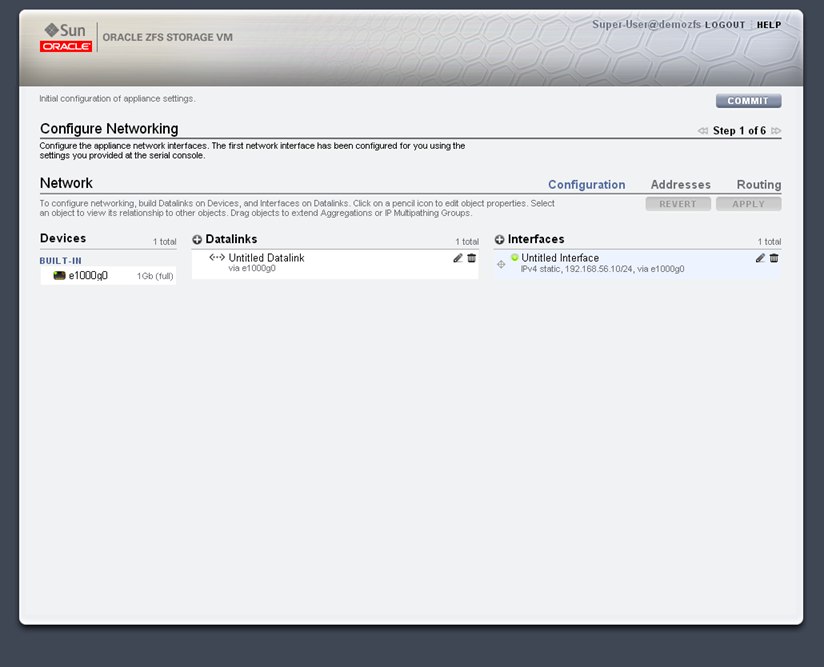
On the ZFS, you have devices which are the physical ports on the array. Datalinks, which are groups of devices ( usually LACP when bonding is required for HA or performance) ,and interfaces which are IPs. In this demo, we don’t need to change anything, as there is only a single virtual interface on the array. Click commit to continue.
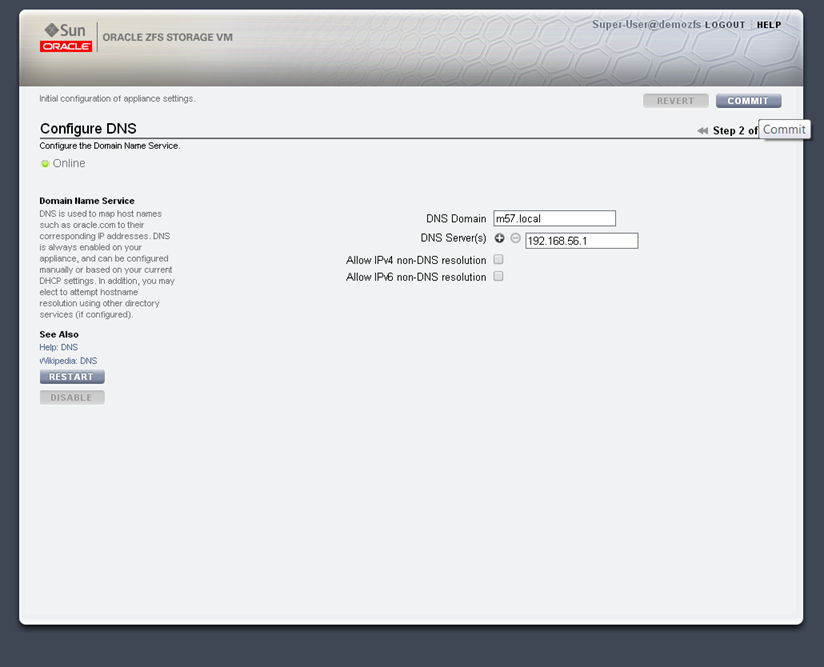
On the next screen we will setup the DNS name and servers. Click commit to continue.
Next we can configure NTP, with is used to keep all the systems on the same time. Click commit to continue.

We will now create a store pool. This is the group of disks that will provide the storage. Click the plus symbol next to the Available Pools.
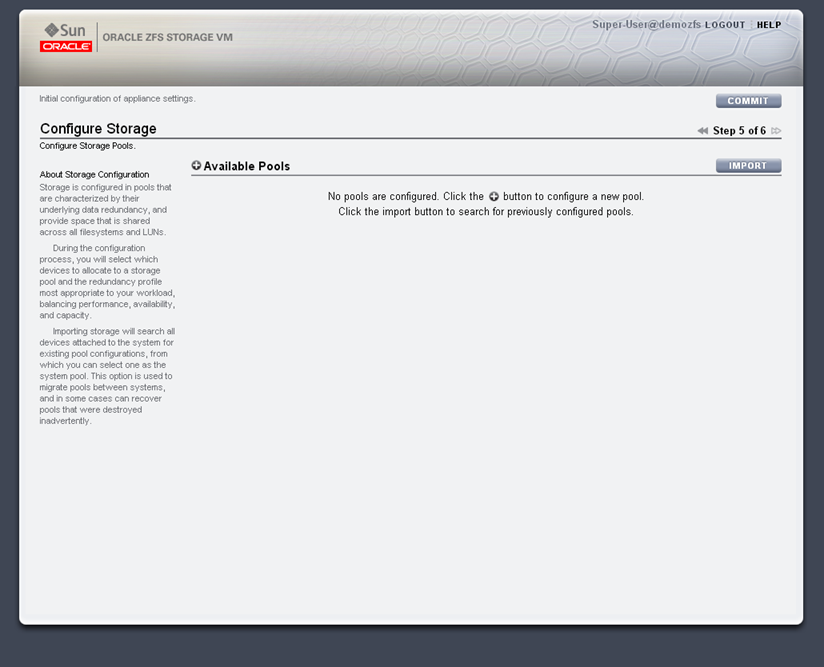
Now pick a name for the pool. In this case we are callign it pool0.

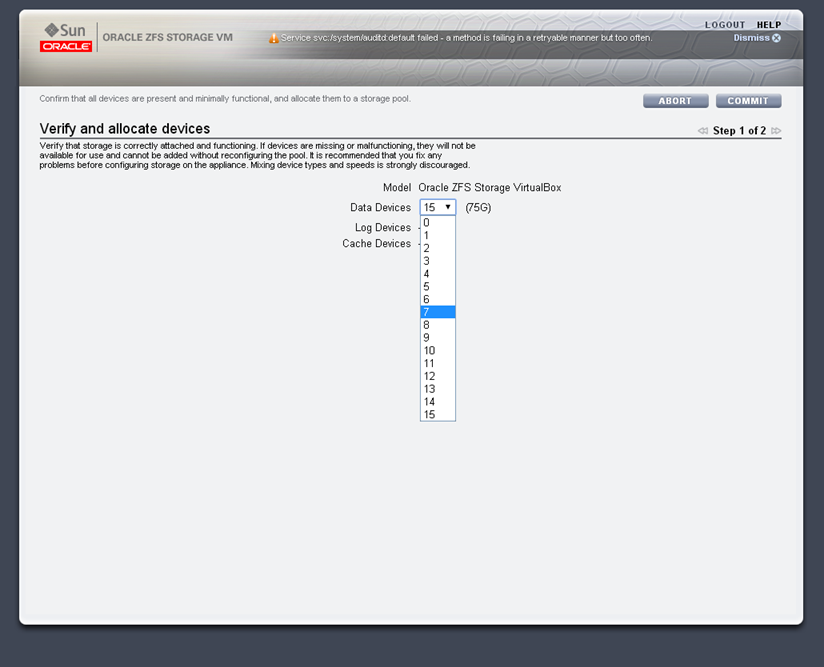
We can now select how many disks will be used in the pool. I will use 7 disks.
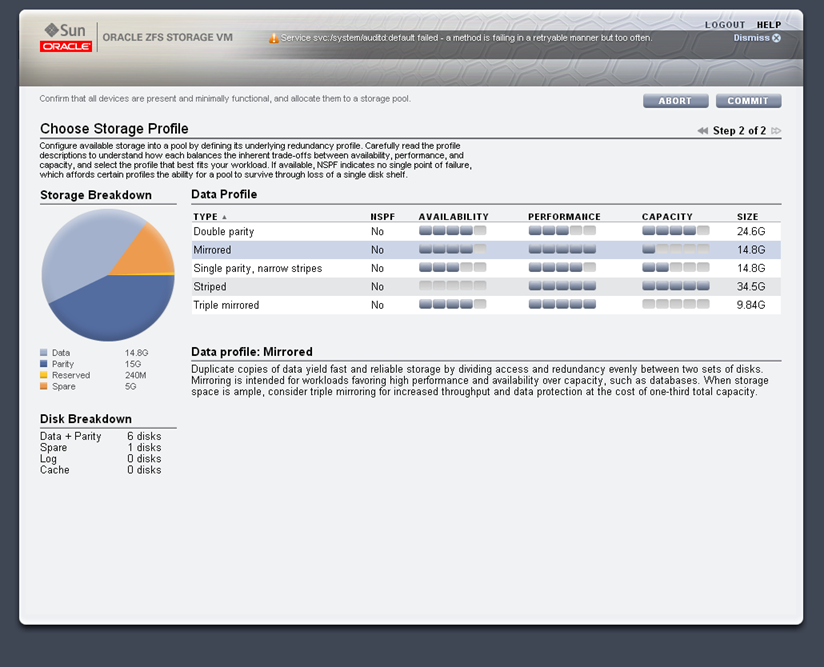
We now pick the type of RAID used, in this example we will used striped for the best performance, but in production environments normally Double Parity or mirrored is used.
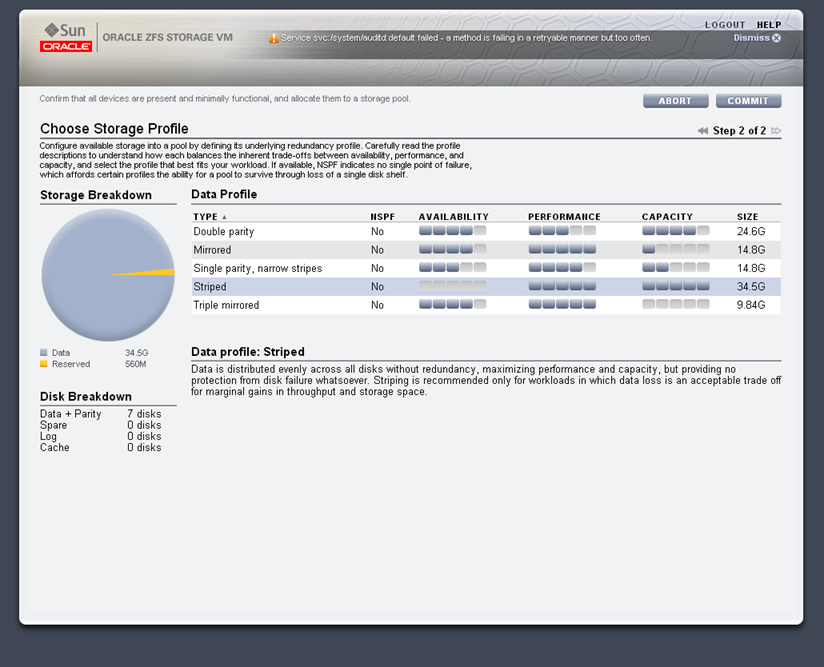
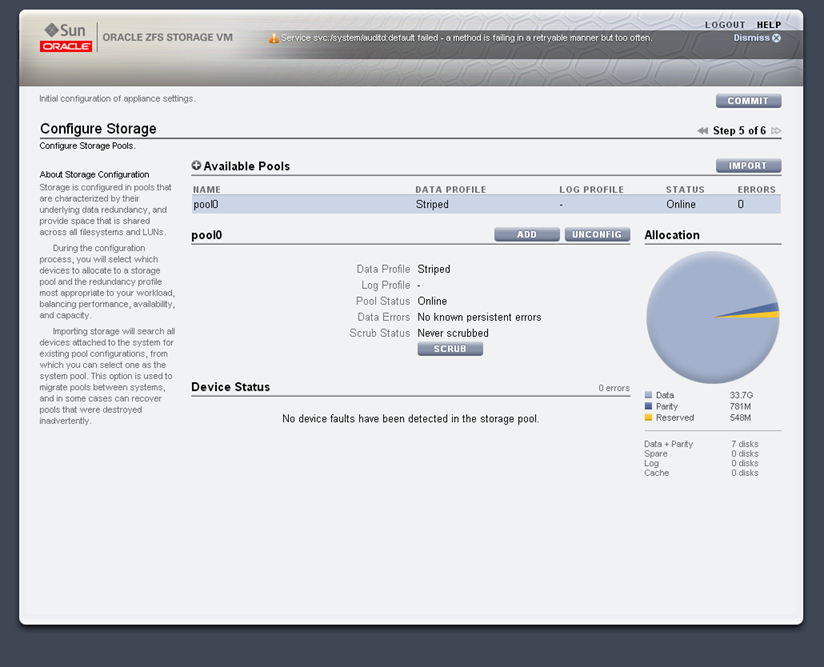
After selecting commit, we will see the pool in the list of available pools.
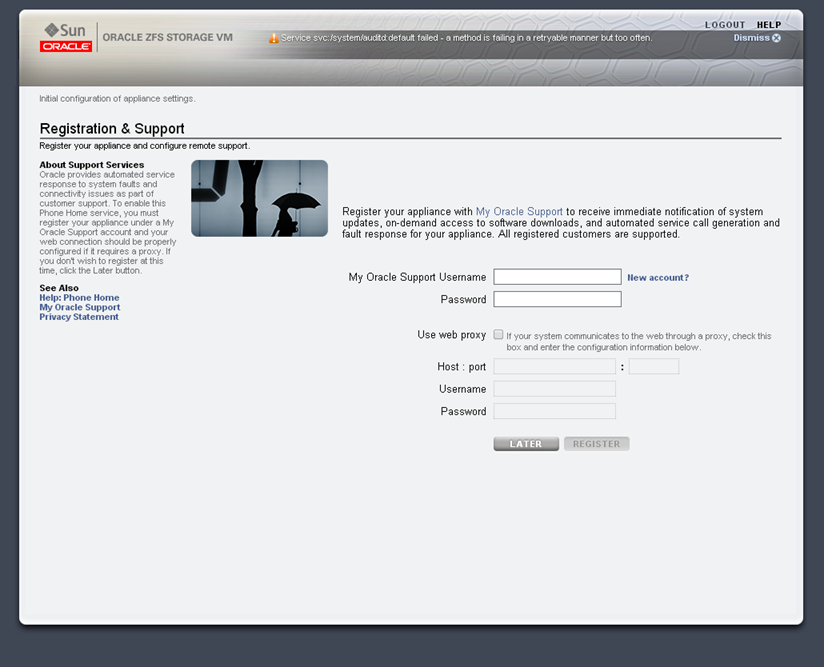
Since this is not a production array, we will skip the registration step. On production systems, this is required for phone home, and troubleshooting.

The bas configuration is completed.
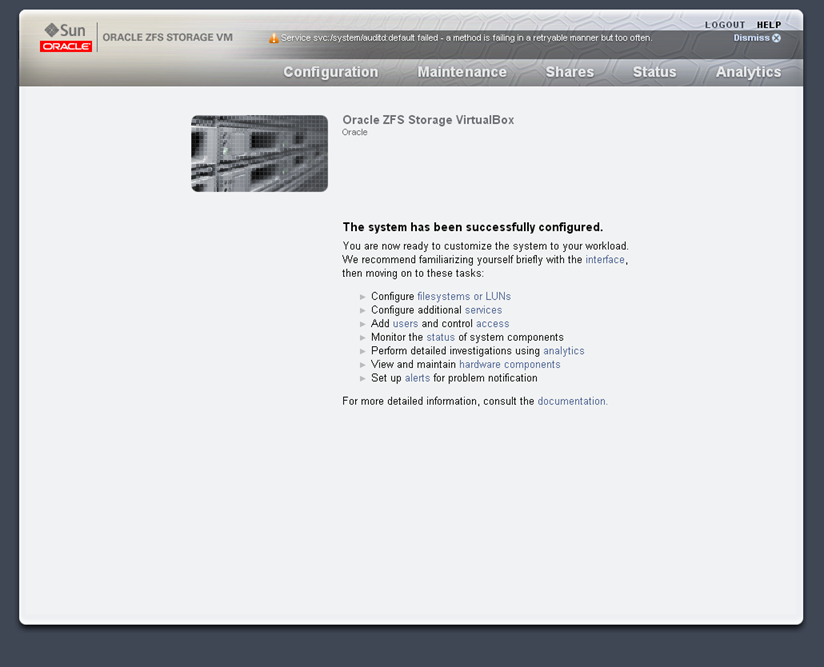
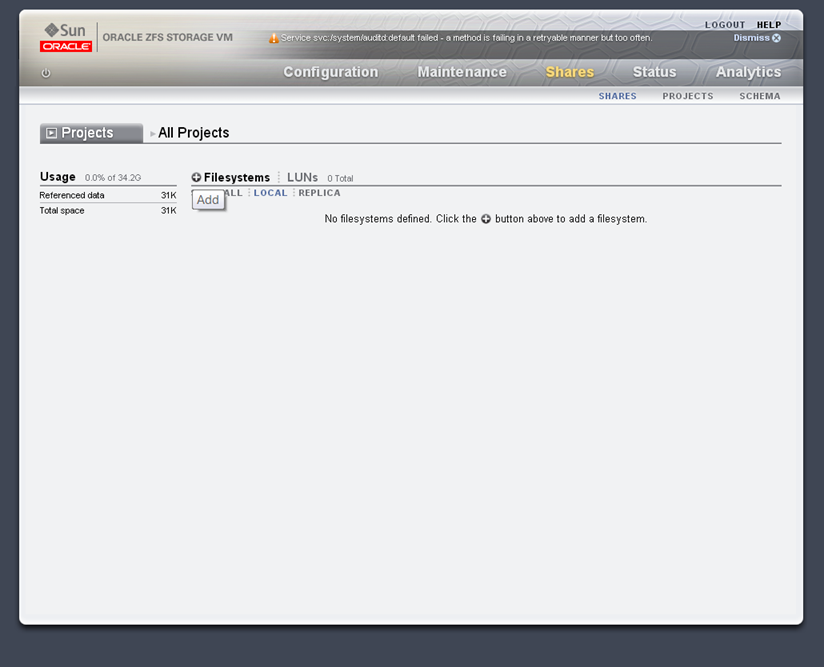
Next we will create a filesystem, under the shares tab, click the + sign next to Filesystems.
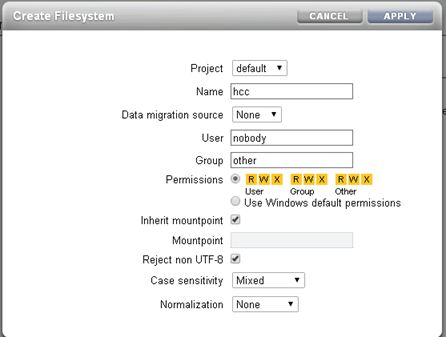
We now set the default settings to the filesystem.
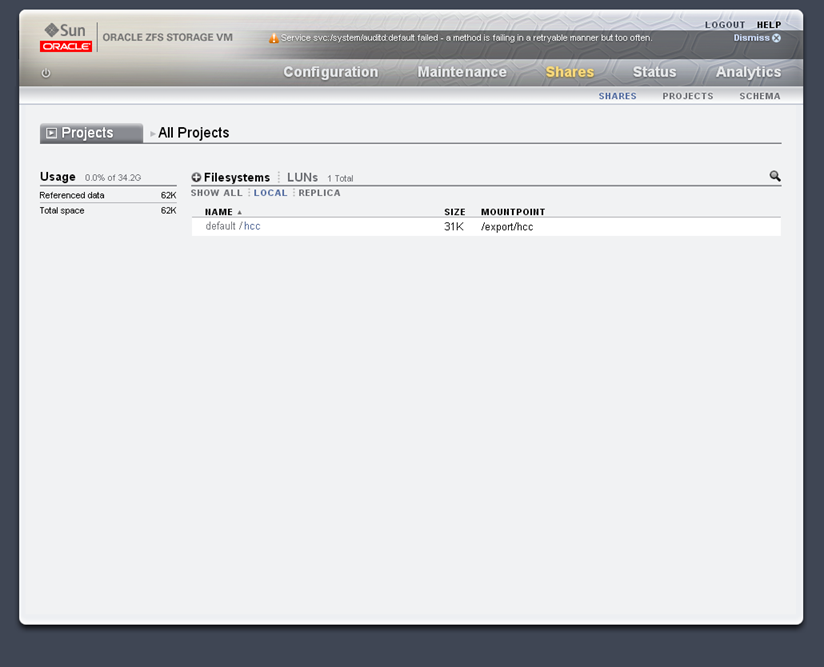
The filesystem is now online, and can be NFS mounted at 192.168.56.10:/export/hcc. More on shares in a future post.
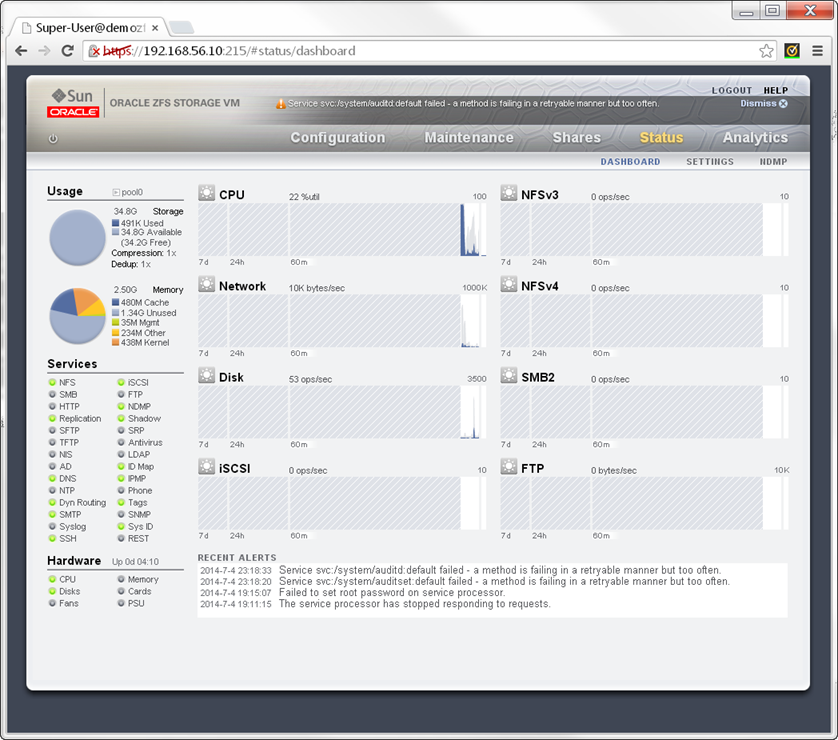
Clicking on the status link to show the realtime array performance metrics. More on trouble shooting performance issues in a future post.
Thanks for the help. I was able to finally get the appliance installed. Do you think you can add the steps to mount the ZFS in the database? I am using 11gR2.
Thanks for the steps, I was having a problem understanding how to do this. Can you please add the steps on how to mount the ZFS using Direct NFS in the database?
Had some issues too. When trying to use HCC feature:
ORA-64307: Exadata Hybrid Columnar Compression is not supported for.
But i found the solution:http://www.protractus.com/2013/10/using-hybrid-columnar-compression-on-zfs-storage/
I had SNMP turned of as well on the virtual appliance. The article also describes how to configure dNFS in Oracle
The new DB code forced a check, and the new simulator code has the fix embedded.